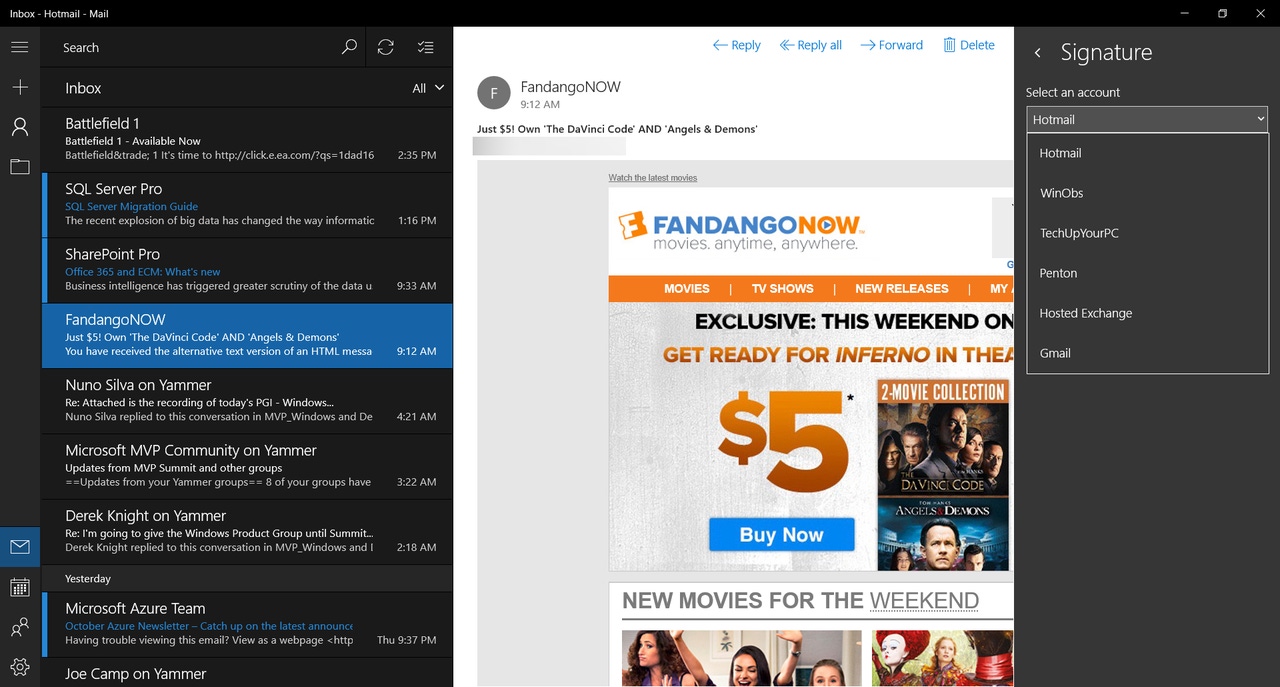
Quick Tip: How to Change or Remove the Email Signature in the Windows 10 Mail AppQuick Tip: How to Change or Remove the Email Signature in the Windows 10 Mail App
By default the Windows 10 Mail App adds a signature to each of your emails which reads "Sent from Mail for Windows 10" but it can be easily turned off or changed.

By default, the Mail app that is part of Windows 10 automatically includes an email signature at the bottom of any outgoing emails you send and if you add more accounts they are also included in the automatic default setting.
However, it is very easy to either turn this signature off or to change the text from the default Sent from Mail for Windows 10.
You even have the option in the Mail App to setup a unique signature for each separate account if you want to take it to the next level of customization.
Step 1: Open up the Mail App; Select Settings > Signature
Begin by opening up the Mail App, by default a shortcut is placed on the Windows 10 Taskbar, and find the Settings icon in the lower left hand corner of the app (#1). Click on that to open up the Settings options which will be a sidebar on the right side of the app. Find Signature (#2) and click that to open up the Signature Settings panel.
Step 2: Turn Off or Modify Signature Settings
Now that the Signature settings panel is open you can change the default signature options.
(1) This is the account selection drop down box. It is disabled by default because the option (#2) to Apply to all accounts is selected.
(2) If you want one signature for all of your accounts then leave this option checked otherwise, just uncheck that and then use the drop down menu (#1) to select the account which you want to modify the associated signature.
(3) If you want to turn off the use of any signatures with the Mail App or an individual account then uncheck this box to turn the option off.
(4) In this field you can enter the text you want to use as your signature. Depending on your earlier choice in #2 you will either be creating a signature for all of your accounts in the Mail App or for an individual account you have selected.
Note: If you choose to have a unique signature for each one of your accounts make sure you go back to #1 and select each one of them and then update #4 with the signature text you want to use on that account. Then repeat as necessary to either add or turn off signatures to each account you have setup.
But, wait...there's probably more so be sure to follow me on Twitter and Google+.
About the Author
You May Also Like
.jpg?width=100&auto=webp&quality=80&disable=upscale)
.jpg?width=400&auto=webp&quality=80&disable=upscale)


.jpg?width=700&auto=webp&quality=80&disable=upscale)
