How To Enable SMB Compression To Expedite File TransfersHow To Enable SMB Compression To Expedite File Transfers
SMB compression can boost storage performance. Here’s how to configure SMB compression on your systems.
January 4, 2022
Storage performance is often hindered by slow connectivity between clients and file servers. Clients might communicate with network servers over a Wi-Fi link, for example. Even if high-speed connectivity is available, however, the network link can become congested if too many clients use it simultaneously. One way that you can relieve some of the congestion is to enable SMB compression. SMB compression is new to Windows Server 2022 and compresses network traffic flowing to and from SMB file shares.
Before I show you how to set up SMB compression, there are two things that you need to know. First, SMB compression only works with Windows Server 2022 and requires clients to run Windows 11. (A Windows Server 2022 machine can also act as a client.) Second, SMB compression creates CPU overhead as data is compressed and decompressed. As such, SMB compression is a poor choice for use on systems that are already CPU constrained.
Configuring the File Server
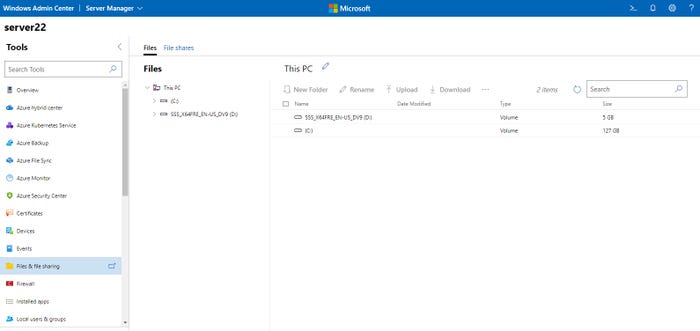
To enable SMB compression, open the Windows Admin Center and connect to your Windows Server 2022-based file server. Next, click on the Files and File Sharing tab, as shown in Figure 1.
SMB Compression 1
Figure 1
Click on the Files and File Sharing tab.
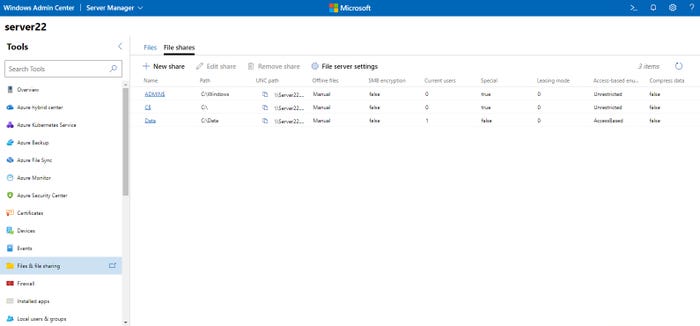
In the above figure, you will notice that the screen is split into three vertical sections, with the middle section showing the file system tree. Just above the word Files, there is a tab labeled File Shares. Click on the File Shares tab. As you can see in Figure 2, this tab lists the file shares that exist on the server (and gives you an option to create new shares).
SMB Compression 2
Figure 2
The File Shares tab lists the file shares that exist on the server.
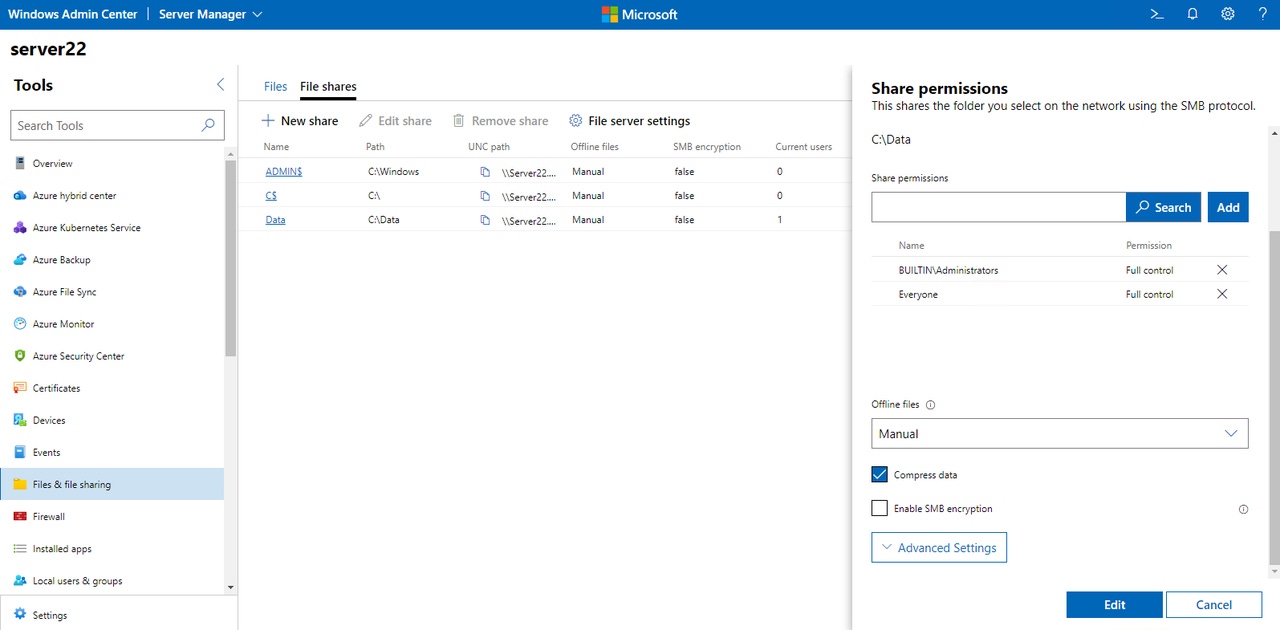
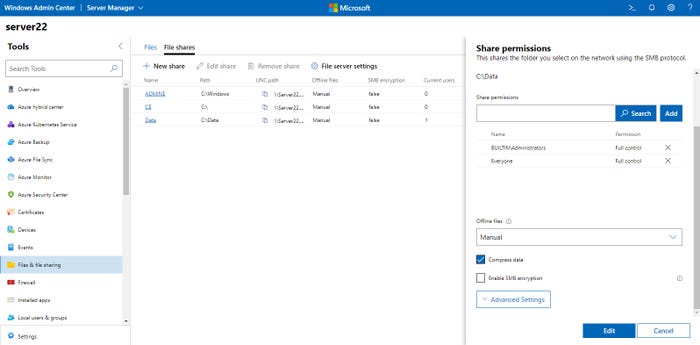
Now click on the file share for which you wish to compress SMB traffic. This will cause a Share Permissions pop-up to appear on the right side of the screen. Scroll all the way to the bottom of this pop-up and then select the Compress Data checkbox, as shown in Figure 3. Be sure to click the Edit button when you are done or your changes will not be saved.
SMB Compression 3
Figure 3
Select the Compress Data checkbox.
Configuring the Client
Enabling SMB compression on the server alone does not compress SMB traffic. You will also need to tell the client computer that you want to compress SMB traffic.
There are different methods for enabling compression at the client end. You can, for example, configure Robocopy or Xcopy to use compression.
Another option is to map a network drive in a way that forces all the traffic to be compressed. To do so, open a PowerShell window and enter the following command:
New-SMBMapping -LocalPath -RemotePath -Compress Network Traffic $TrueIf I wanted to map the F: drive to the Data share on a server named Server22, then the command would be:
New-SMBMapping -LocalPath “F:” -RemotePath “\Server22Data” -CompressNetworkTraffic $TrueYou can see this command in action in Figure 4 (although I have used an IP address in place of a computer name in the remote path).

SMB Compression 4
Figure 4
This is how you use the New-SMBMapping cmdlet to create a mapped network drive with compression enabled.
While this technique works well, it is probably impractical to use PowerShell to map every required network drive, particularly if the client already has all the mappings in place. As an alternative, you can create a registry value that will cause the client to use SMB compression whenever possible.
As always, it’s important to use caution when modifying the registry since an incorrect registry setting can severely damage Windows and/or your applications. It is always a good idea to create a backup before you edit the registry.
With that said, you can create the necessary registry key by opening Regedit and then navigating through the registry tree to here:
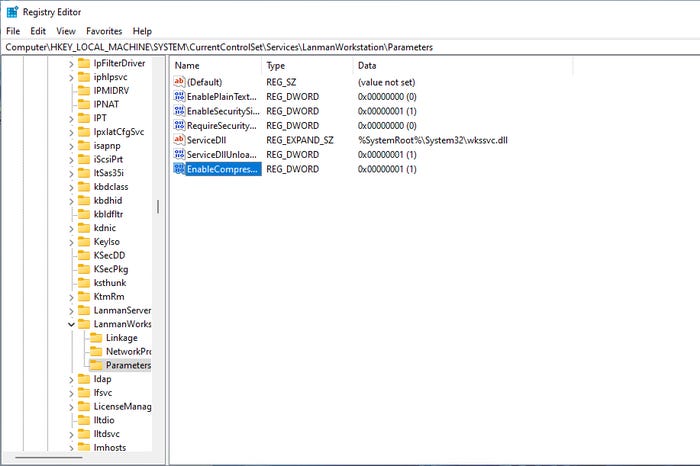
HKEY_LOCAL_MACHINESystemCurrentControlSetServicesLanmanWorkstationParametersNext, you will need to create a new 32-bit REG_DWORD value named EnableCompressedTraffic and give it a value of 1. You can see what this looks like in Figure 5.
SMB Compression 5
Figure 5
You can use the client’s registry to enable SMB compression.
As previously noted, there are also some tool-specific options for enabling SMB compression. You can find Microsoft’s full documentation, which includes instructions for these tools, here.
About the Author
You May Also Like


.jpg?width=700&auto=webp&quality=80&disable=upscale)
