How-To: Save Windows 10 Screenshots to OneDrive by DefaultHow-To: Save Windows 10 Screenshots to OneDrive by Default
Microsoft's OneDrive cloud storage makes it easy to save screenshots on your PCs to the cloud based service.

Many of us take advantage of the built in screenshot capability in Windows 10 by using the Windows Key + Print Screen keyboard shortcut. By default that image is stored in the clipboard so that you can paste it in another program or document plus it is also saved to a folder on your local hard drive in your Pictures > Screenshots directory.
Ever think about storing those screenshots on OneDrive?
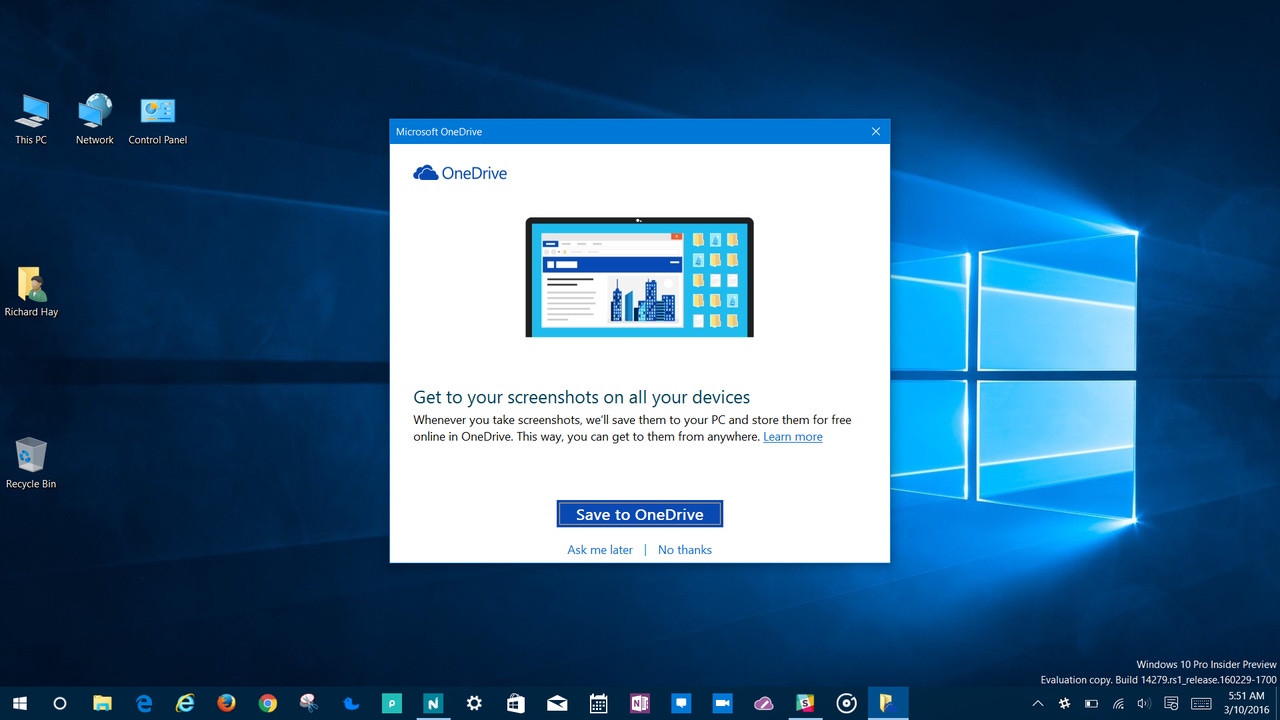
Over the last few months on Windows 10 you may have seen a prompt pop up when using the Windows Key + Print Screen shortcut that looks like this:
By opting into this your screenshots will now be saved to OneDrive > Pictures > Screenshots and therefore accessible from any of your devices using the cloud storage service.
If for some reason you have not seen this dialog or passed it up the first time around then it is still possible to change your default screenshot save location to OneDrive.
Just right click on the OneDrive icon in your System Tray and select Settings:
Next click or tap on the Auto save tab and then check the box under Screenshots and then click/Tap OK to close out of the dialog box.
Now your screenshots will be saved to OneDrive by default in the future.
I work on multiple devices everyday and screenshots are my bread and butter when it comes to the how to articles and galleries I write here on the SuperSite for Windows. This is a great feature but I wanted a solution way before this was available to get my screenshots from each device to OneDrive so I could access them on any of my machines.
Well I figured one out so next Thursday I will share with you how I set that up using features that are already available in Windows 10.
But, wait...there's probably more so be sure to follow me on Twitter and Google+.
About the Author
You May Also Like
.jpg?width=100&auto=webp&quality=80&disable=upscale)
.jpg?width=400&auto=webp&quality=80&disable=upscale)


.jpg?width=700&auto=webp&quality=80&disable=upscale)
