PowerShell Dialog Boxes: Using Button Click Actions and Menu SelectionsPowerShell Dialog Boxes: Using Button Click Actions and Menu Selections
This article builds on previous PowerShell GUI techniques by demonstrating how to open dialog boxes through button click actions and menu selections.
November 19, 2024

In this series' first article, I introduced the basics of displaying a dialog box in a PowerShell GUI. Now, let’s build on that technique. I will show you several ways to open the dialog box whenever needed.
Using Premade Dialog Boxes in Your PowerShell Scripts
Using Button Click Actions and Menu Selections
How to Create Responsive Dialog Boxes (publishing Nov. 25)
Button Click Actions in PowerShell
We will start with an example that demonstrates a click action. If you are new to click actions, it essentially a block of code that executes after clicking a button.
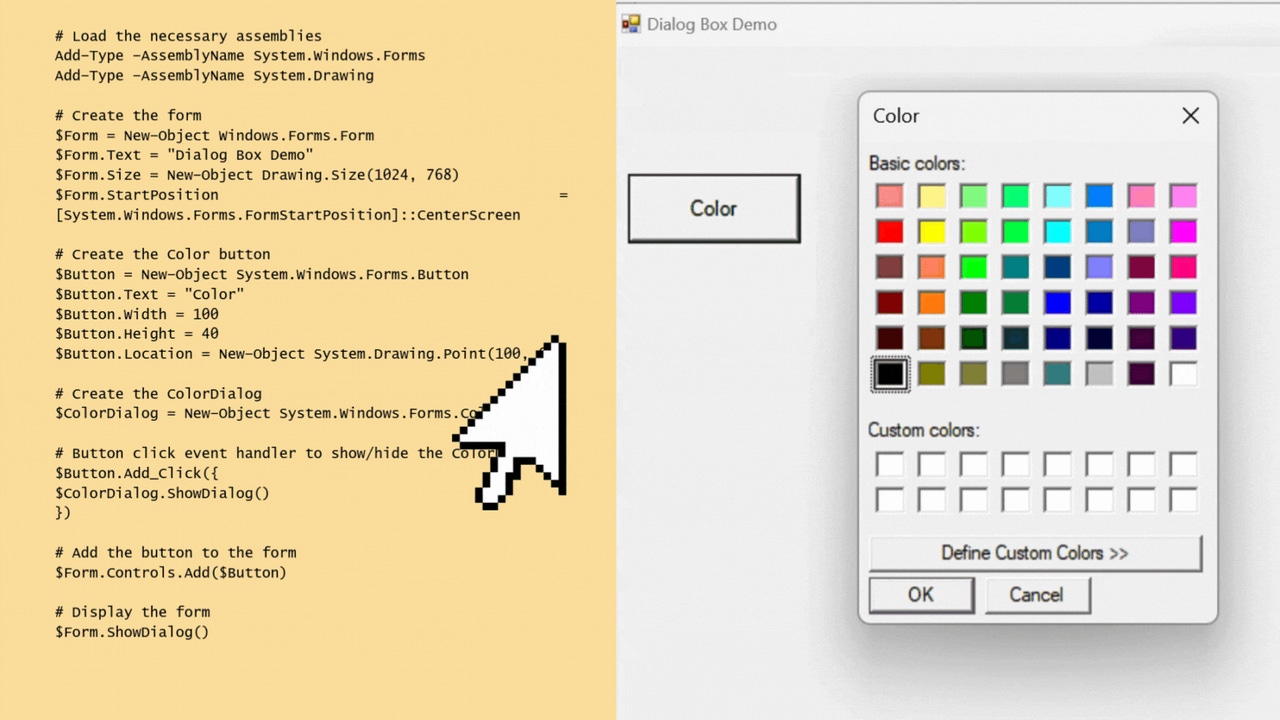
In the code sample below, I have added a Color button to the PowerShell GUI from the previous article. Clicking the Color button opens the dialog box, which you can close by selecting OK or Cancel. You can reopen the dialog box anytime by clicking the Color button again. Figure 1 shows how this looks.
![Dialog Box 2-1[84].jpg Dialog Box 2-1[84].jpg](https://eu-images.contentstack.com/v3/assets/blt07f68461ccd75245/bltb184d91809f9240c/67379e03f92aadbd22dbc59a/Dialog_Box_2-1[84].jpg?width=700&auto=webp&quality=80&disable=upscale)
Figure 1. Clicking the Color button opens the dialog box.
Here is the code:
# Load the necessary assemblies
Add-Type -AssemblyName System.Windows.Forms
Add-Type -AssemblyName System.Drawing

# Create the form
$Form = New-Object Windows.Forms.Form
$Form.Text = "Dialog Box Demo"
$Form.Size = New-Object Drawing.Size(1024, 768)
$Form.StartPosition = [System.Windows.Forms.FormStartPosition]::CenterScreen

# Create the Color button
$Button = New-Object System.Windows.Forms.Button
$Button.Text = "Color"
$Button.Width = 100
$Button.Height = 40
$Button.Location = New-Object System.Drawing.Point(100, 60)

# Create the ColorDialog
$ColorDialog = New-Object System.Windows.Forms.ColorDialog

# Button click event handler to show/hide the ColorDialog
$Button.Add_Click({
   $ColorDialog.ShowDialog()
})

# Add the button to the form
$Form.Controls.Add($Button)

# Display the form
$Form.ShowDialog()
As you can see, much of this code is identical to what I showed you in the previous article. The key difference here is that I have created a button object and added it to the form. The part I want to highlight is the button’s click action. Here is the click action code:
$Button.Add_Click({ $ColorDialog.ShowDialog()})In this example, the click action executes the command $ColorDialog.ShowDialog(). This command varies slightly from how I opened the dialog box in the previous article, but both approaches use the ShowDialog() method. This method can open any dialog box.
Using a Menu Selection to Open a Dialog Box
While you can create a button that opens a dialog box, as I have done above, dialog boxes more often link to menu options. Let’s explore how you might use a menu selection to open a dialog box in PowerShell. Here is the code:
  # Load the necessary assemblies
Add-Type -AssemblyName System.Windows.Forms
Add-Type -AssemblyName System.Drawing

# Create the form
$Form = New-Object Windows.Forms.Form
$Form.Text = "Dialog Box Demo"
$Form.Size = New-Object Drawing.Size(1024, 768)
$Form.StartPosition = [System.Windows.Forms.FormStartPosition]::CenterScreen

# Create the menu strip
$MenuStrip = New-Object System.Windows.Forms.MenuStrip

# Create the "Options" menu item
$FormatMenu = New-Object System.Windows.Forms.ToolStripMenuItem("Format")

# Create the "Color" menu item under "Options"
$MenuItemColor = New-Object System.Windows.Forms.ToolStripMenuItem("Color")

# Add the "Color" item to the "Options" menu
$FormatMenu.DropDownItems.Add($MenuItemColor)

# Add the "Format" menu to the menu strip
$MenuStrip.Items.Add($FormatMenu)

# Add the menu strip to the form
$Form.Controls.Add($MenuStrip)
$Form.MainMenuStrip = $MenuStrip

# Create the ColorDialog
$ColorDialog = New-Object System.Windows.Forms.ColorDialog

# Event handler for the Color menu item
$MenuItemColor.Add_Click({
    $ColorDialog.ShowDialog()
    })

# Display the form
$Form.ShowDialog()
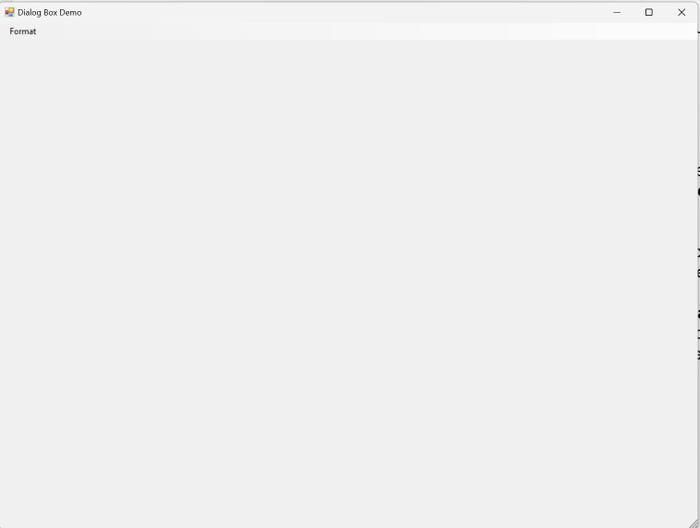
This code creates an empty GUI with a Format menu at the top, as shown in Figure 2. The Format menu contains a single option: Color. Selecting this option opens the Color dialog box.

Figure 2. I have added a Format menu to the GUI.
The first several lines of code are the same as what we have already covered. The only difference here is the code used to create the menus. I have discussed PowerShell menus in detail in a previous article. However, I want to give you a brief overview of how the menu works.
The menu creation process begins by creating a menu strip. A menu strip is simply a collection of menus displayed across the top of a window. Although we add only one menu in this example, a menu strip is still necessary.
With the menu strip created, we must set up the Format menu and the Color menu item, each as objects of type System.Windows.Forms.ToolStripMenuItem. After creating these objects, we need only to add the Color menu item to the Format menu and then add the Format menu to the menu strip. Finally, we can add the menu strip to the form like any other GUI component.
Near the end of the script, you will notice an event handler for the Color menu item. This event handler works the same as a button’s click action. In fact, it works by assigning an Add_Click attribute to the menu item. The click action here is again $ColorDialog.ShowDialog(), the same command used to open the dialog box when clicking the Color button.
Now that I have demonstrated a few methods for opening a dialog box, I will conclude this series in Part 3 by showing you how to interact with the dialog box.
About the Author
You May Also Like


.jpg?width=700&auto=webp&quality=80&disable=upscale)
