How To Use PowerShell to List Your 10 Largest FilesHow To Use PowerShell to List Your 10 Largest Files
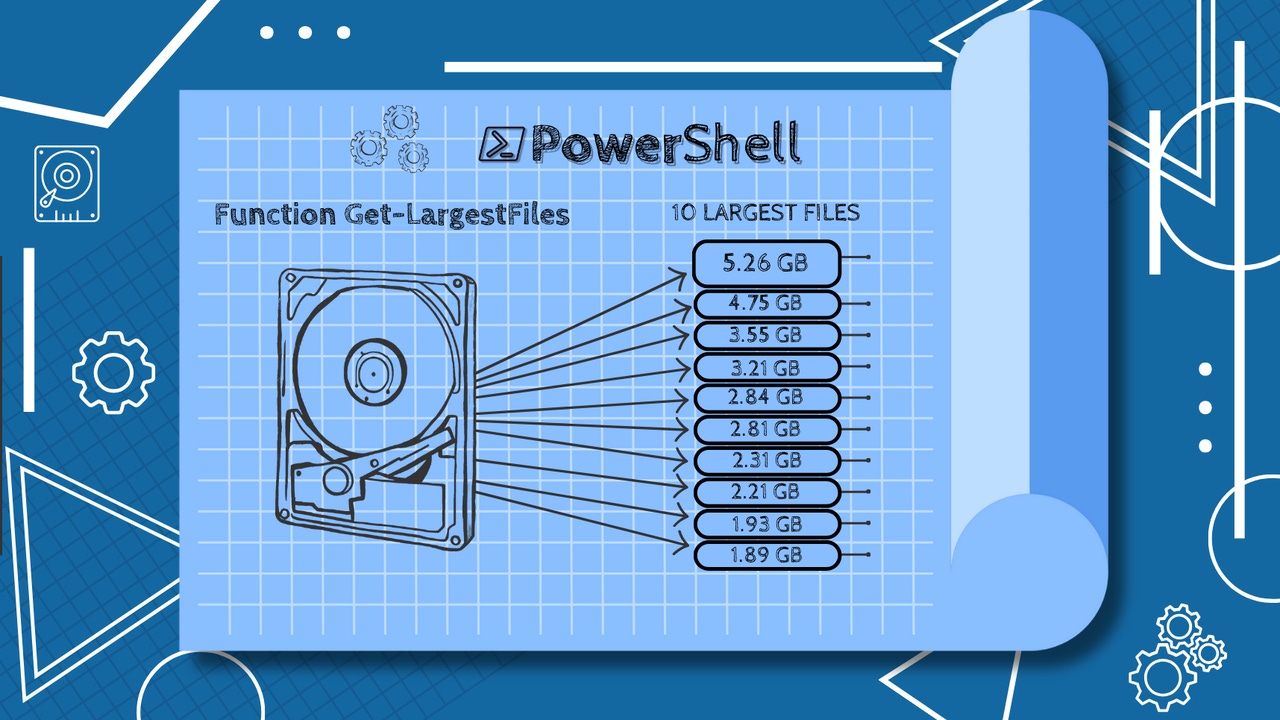
In this continuation of our series on building a PowerShell tool to track lost disk space, we’ll focus on adding a feature to identify and display the 10 largest files on the hard disk.
December 16, 2024

In Part 1 of this series, I showed you how to build a GUI-based tree that displays a list of the folders on a hard disk. Let’s continue the discussion by going over the rest of the script.
Part 2: Identify the 10 Largest Files on Your Disk
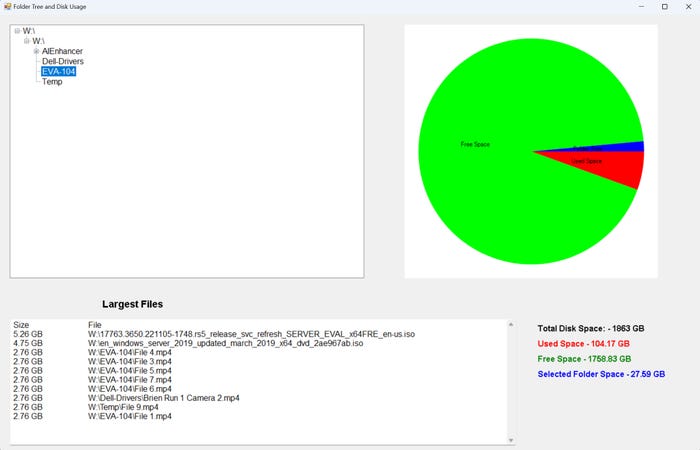
As mentioned, this script uses a tree view to display all the folders on a specific hard disk. When you click on a folder, a pie chart reflects the size of that folder and its subfolders, comparing it to the system’s total disk space and remaining unused storage. The script also lists the 10 largest files on the hard disk. You can see the script in action in Figure 1.

Figure 1. Here is what my script looks like.
Performance Considerations
You should know a few things before I explain how this script works.
Speed Variation: The speed of this utility can vary significantly depending on the number of folders on the hard disk. The utility will run almost instantly if you have only a few folders. However, if you have many folders, processing them will take some time.
GUI Responsiveness: When you have many folders, the GUI may initially appear to freeze, but it will eventually populate once the script has finished parsing all the folders.
Pie Chart Update Time: The speed at which the pie chart refreshes when you click on a folder also corresponds to the number of folders. A few folders will result in an immediate update, while many folders may take several seconds.
Listing the Largest Files on the Hard Disk
With that said, let’s look at the part of the script that displays the list of the largest files on the hard disk. A single function handles this task, though the GUI elements are external to the function. The function, called Get-LargestFiles, is shown in the code below:
    Function Get-LargestFiles {

    $Files = Get-ChildItem -Path "$SelectedDrive\" -Recurse -File -ErrorAction SilentlyContinue

    # Sort the files by size and select the top 10
    $LargestFiles = $Files | Sort-Object Length -Descending | Select-Object -First 10

    # Format the result as a string
    $FileList = "Size `t`t File `r`n"
    ForEach ($File in $LargestFiles) {
        $FileList += "$([math]::Round($File.Length / 1GB, 2)) GB `t`t $($File.FullName) `r`n"
    }

    # Update the TextBox with the largest files
    $BigFiles.Text = $FileList
    $BigFiles.SelectionStart = 0
    $BigFiles.SelectionLength = 0
}
Breakdown of the Get-LargestFiles Function
The function starts by recursively executing the Get-ChildItem cmdlet to create a list of every file on the system. The command sets the error action to continue silently, allowing the script to ignore any folders it doesn’t have access to. The resulting list of files is stored in a variable called $Files. It’s important to note that the path is set using a variable called $SelectedDrive. The $SelectedDrive variable is defined at the beginning of the script and contains the drive letter for the hard disk the script will examine.
Identifying the largest files
The next step is to identify the 10 largest files. We use a single line of code:
$LargestFiles = $Files | Sort-Object Length -Descending | Select-Object -First 10The Sort-Object cmdlet sorts the list of files by size.
The Select-Object cmdlet narrows the list down to the 10 largest files. That top 10 list is written to a variable called $LargestFiles.
Formatting the output for the GUI
Next, we must format the list of files for use in the GUI. Since we are outputting the list to a text box, we must create a single string that includes the complete file list with the appropriate formatting. To accomplish this, I have set up a ForEach loop that processes each item in the list. For every file, the loop adds the file’s size (converted to gigabytes), path, and filename to a string called $FileList, with a couple of tabs and line breaks.
Displaying the results
The script then copies the formatted list to $BigFile.Text. $BigFile is the name of the GUI text box, effectively displaying the file list.
The last two lines of code
The final two lines of code set the text box’s selection start point and length to 0. Although these lines are usually unnecessary, I included them because Windows kept trying to automatically select the contents of my file list as I wrote the script. These commands prevent the automatic selection from occurring.
Now that I have shown you how to list of the 10 largest files, I will conclude the series in Part 3 by explaining how I created the pie chart.
About the Author
You May Also Like


.jpg?width=700&auto=webp&quality=80&disable=upscale)
