How To Deploy ROS 2 on Ubuntu 22.04: A Step-by-Step GuideHow To Deploy ROS 2 on Ubuntu 22.04: A Step-by-Step Guide
From installing the ROS key to setting up the environment, we will walk you through everything you need to get started.
August 14, 2024
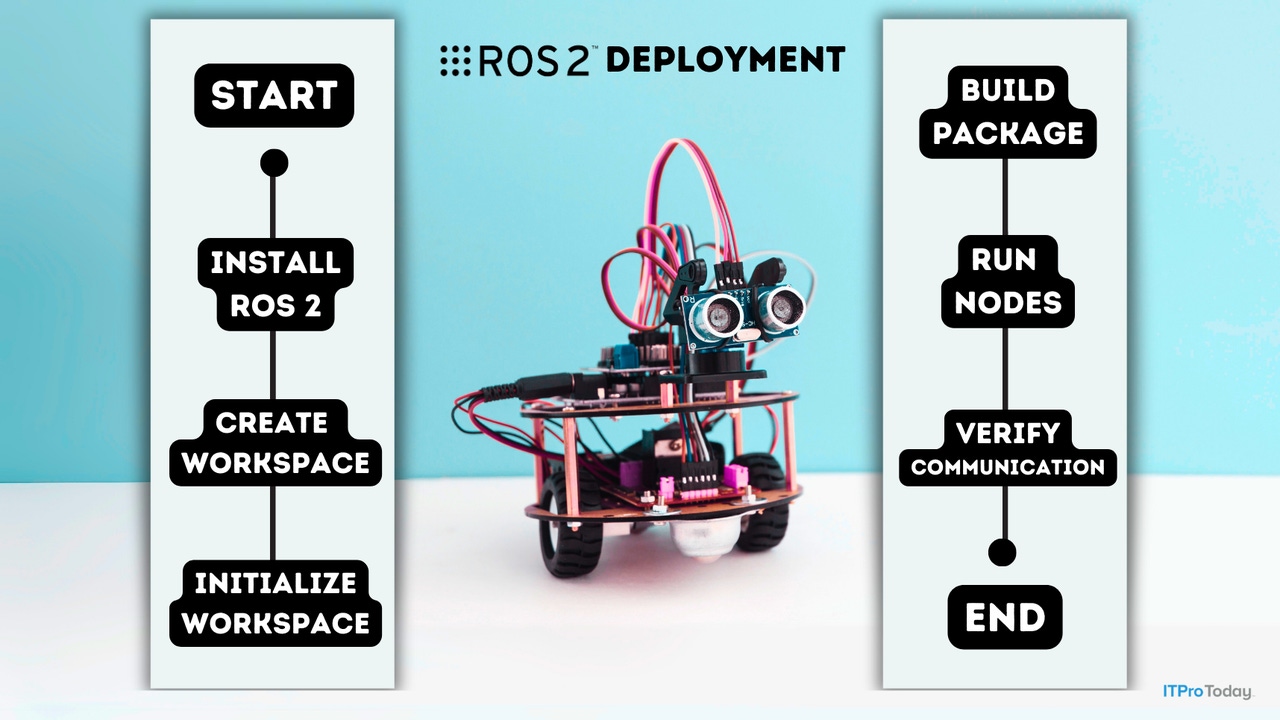
The Robotics Operating System, better known as ROS (pronounced “Roz”), is a widely used open-source platform for robotics. Despite its popularity, ROS can be challenging to deploy. This guide will walk you through the deployment process, focusing on ROS 2 on Ubuntu 22.04.
Why ROS Deployment Can Be Tricky
One of the main difficulties with installing ROS is its sensitivity to specific software versions. Add to that, much of the online documentation often misses critical steps, and you can begin to see why getting ROS up and running can be challenging.
Why Use ROS 2
For this guide, we are using ROS 2 on Ubuntu 22.04 for two main reasons:
Compatibility: To my knowledge, ROS 1 is not supported officially on the latest Ubuntu versions. Using ROS 2 allows you to avoid reverting to an older version of Ubuntu.
Enhanced Features: ROS 2 offers improved cross-platform support and better capabilities than ROS 1. It also uses the Data Distribution Service (DDS) to communicate between components, an industry standard for real-time communications. In contrast, ROS 1 relied on a proprietary communications protocol.
The ROS Setup Process
Step 1. Ensure local support
To begin your ROS 2 installation, open the Terminal on your Ubuntu 22.04 system. Ensure that your system’s locales support UTF-8. The commands for doing so, which appear within the ROS documentation are the following:
sudo apt update && sudo apt install localessudo locale-gen en_US en_US.UTF-8sudo update-locale LC_ALL=en_US.UTF-8 LANG=en_US.UTF-8export LANG=en_US.UTF-8Verify that UTF-8 support is enabled by using the locale command. You can see what this looks like in Figure 1. (If you are wondering, all the screen captures in this guide were taken on a Hyper-V virtual machine running Ubuntu. Contrary to some articles, you can install and work with ROS on a virtual machine, provided you are not deploying code to a physical robot.)
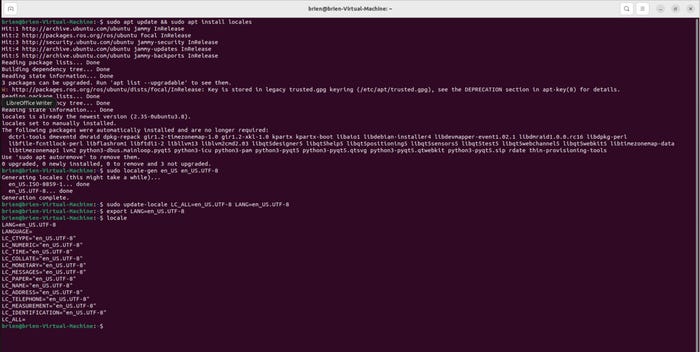
Figure 1. Ensure that your system is configured to use UTF-8.
Step 2. Install Universe repository
Ubuntu uses different repositories for software packages. Here is a quick overview:
Main: Free software officially supported by Canonical (the company that makes Ubuntu)
Universe: Free, open-source software maintained by the community
Restricted: Mostly used for device drivers
Multiverse: Various types of restricted software
You can find more information about the repositories here: https://help.ubuntu.com/community/Repositories/Ubuntu
To add the Universe repository, enter these commands:
sudo apt install software-properties-commonsudo add-apt-repository universeYou can see these commands in Figure 2.

Figure 2. Use these commands to install the Universe repository.
Step 3. Install Curl and download the ROS key
Curl is a command-line tool for data transfer, often used to download data from URLs (which is what we are doing with the ROS key).
Here are the commands you need to use:sudo apt update && sudo apt install curl -ysudo curl -sSL https://raw.githubusercontent.com/ros/rosdistro/master/ros.key -o /usr/share/keyrings/ros-archive-keyring.gpg
You can see these commands in Figure 3. Note that the second command (sudo curl) does not produce visible output.
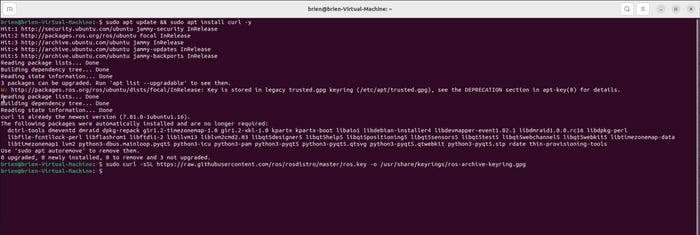
Figure 3. Use these commands to download the ROS key.
Step 4: Add ROS to your system’s sources
With the ROS key installed, you can add ROS to your machine’s list of sources. Here is the command for this task (see also Figure 4):
echo "deb [arch=$(dpkg --print-architecture) signed-by=/usr/share/keyrings/ros-archive-keyring.gpg] http://packages.ros.org/ros2/ubuntu $(. /etc/os-release && echo $UBUNTU_CODENAME) main" | sudo tee /etc/apt/sources.list.d/ros2.list > /dev/null
Figure 4. Add ROS to your machine’s list of sources.
Step 5: Update and upgrade packages
At this stage, update and upgrade all apt packages on your system to avoid potential issues. According to the ROS documentation, skipping this step can cause critical system packages to be removed.
Use these commands:
sudo apt updatesudo apt upgradeStep 6: Install ROS
You have completed the preliminary tasks and can now finally install ROS. There are a few installation options, but I recommend starting with a desktop installation.
Use the following command for a desktop installation (Figure 5):
sudo apt install ros-humble-desktop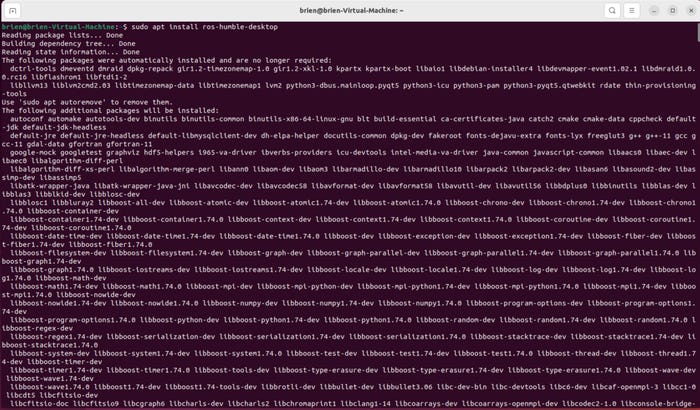
Figure 5. Use this command to install ROS.
Step 7: Install developer tools
Install the development tools using this command:
sudo apt install ros-dev-toolsStep 8: Source the setup file
The final step is to source the setup.bash file to configure your environment:
source /opt/ros/humble/setup.bash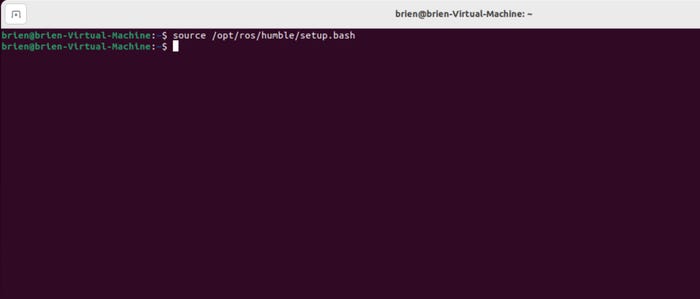
Figure 8. This command completes the setup process.
About the Author
You May Also Like


.jpg?width=700&auto=webp&quality=80&disable=upscale)
