DIY Open Source NAS: How to Install FreeNASDIY Open Source NAS: How to Install FreeNAS
Open source NAS isn’t appropriate for every use case, but it can be ideal for lab deployments, smaller workgroups or active archive data.
May 19, 2019

Given the cost of enterprise storage, such organizations often reserve their expensive, high-end storage arrays for use with workloads that demand high performance. File data, and data that is associated with less demanding workloads, is often stored in the cloud, or stored on premises within less-expensive storage appliances. Even that model can be somewhat costly, however. One way of bringing down the cost of storage is to use open source NAS where it is practical to do so. Open source NAS obviously isn’t appropriate for every use case, but it can be ideal for lab deployments, smaller workgroups within the organization or for active archive data.
One of the best open source NAS solutions is FreeNAS. FreeNAS is BSD-licensed NAS software that includes enterprise-grade features. Best of all, FreeNAS is largely hardware-agnostic, so it should work with just about any hardware that you want to use it on.
The hardware requirements for FreeNAS vary depending on the use case. At minimum, you will need 64-bit hardware with 8 GB of RAM. FreeNAS strongly recommends that your hardware be equipped with an Intel processor.
If your goal is to build an enterprise-grade NAS appliance, then FreeNAS recommends mirroring the device’s boot drive and equipping the appliance with a minimum of 32 GB of Error Correcting RAM. You should also plan on equipping the appliance with at least two Ethernet adapters. (FreeNAS supports the use of 10 Gbe.)
You can download the FreeNAS software here. The download consists of an ISO file that is roughly half a gigabyte in size. This ISO file contains the FreeNAS operating system.
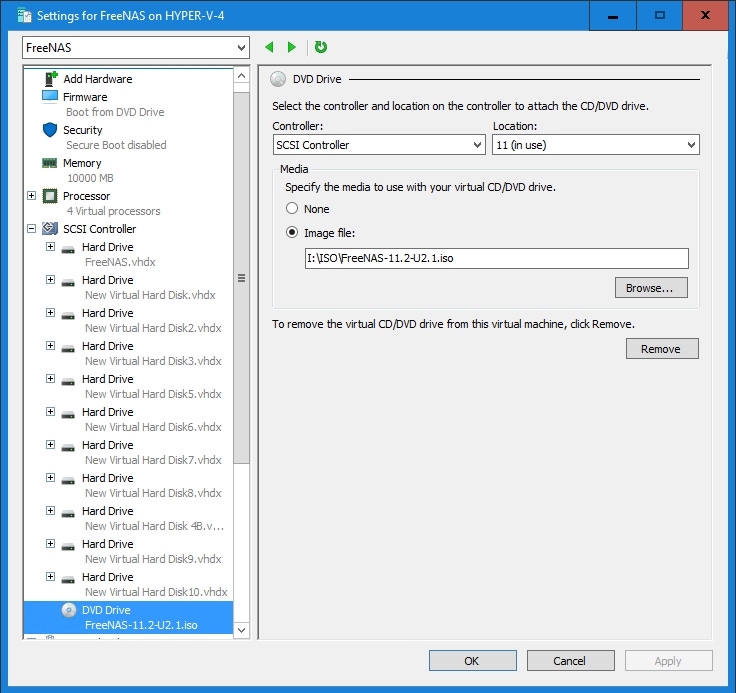
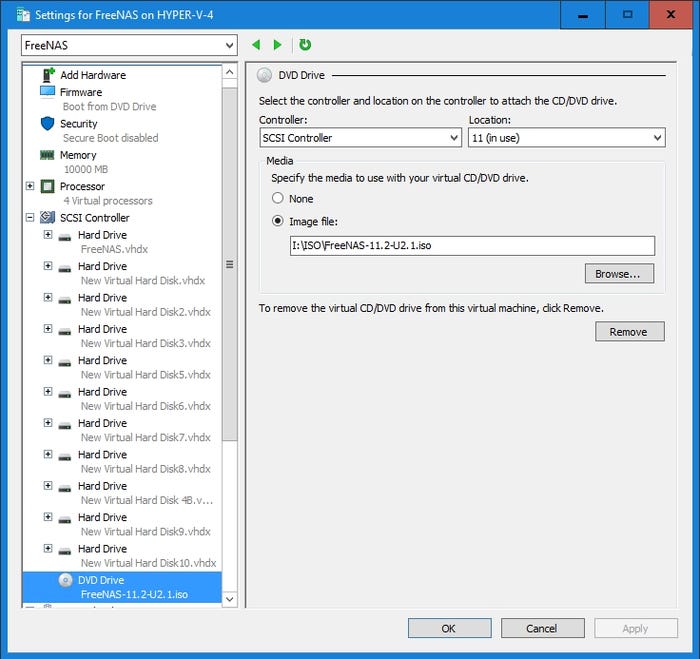
For demonstration purposes, I am going to be installing FreeNAS onto a Hyper-V virtual machine. As you can see in Figure 1, I have created a virtual machine with several virtual hard disks. One of these virtual hard disks will of course act as the boot drive, while the others will be available for inclusion in the NAS. I have configured the virtual machine to initially boot from the FreeNAS ISO file, so as to enable the installation of the FreeNAS software. It is also worth noting that I have disabled Secure Boot since this is not going to be a Windows virtual machine.

FreeNAS 1A
Figure 1
You can install FreeNAS onto a Hyper-V virtual machine.
In a production environment, it would be somewhat rare to run FreeNAS on a virtual machine. However, I wanted to show you that FreeNAS does work on a VM, because you can use a virtual machine to help you get used to the FreeNAS software before you deploy it in a production environment.
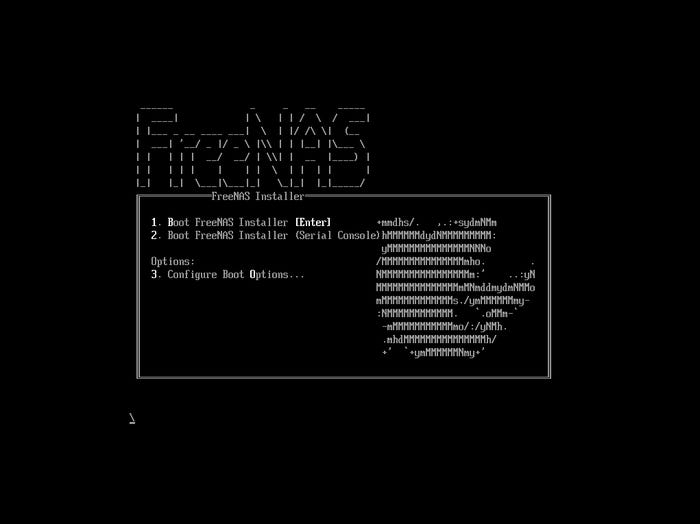
When you boot the FreeNAS server from the installation media, you will see a screen like the one that is shown in Figure 2. Press Enter to boot the machine from the FreeNAS installer.

FreeNAS 1B
Figure 2
This is the screen that you will see when you boot from the installation media.
After a few seconds, you will be taken to a more colorful screen that provides options to install FreeNAS, escape to the shell, reboot the system or shut down the system. Select the Install / Upgrade option, and press Enter.
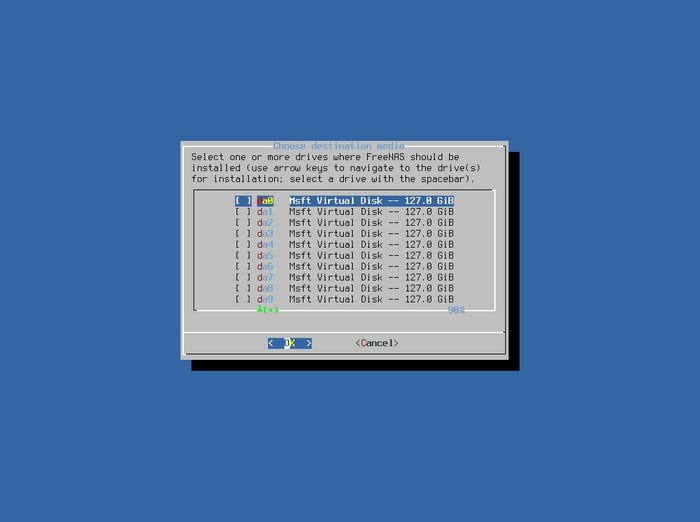
At this point, you will be taken to a screen that asks you which hard disk you want to use as the boot drive, as shown in Figure 3. In my case, the selection doesn’t really matter because all of my virtual hard disks are identical. In the real world, however, you would choose the most suitable drive and press the spacebar to select the drive, and then press Enter to continue the installation process.

FreeNAS 1C
Figure 3
Choose the drive that you want to use as a boot drive.
Upon pressing Enter, you will see a warning message telling you that the disk will be reserved for use by the FreeNAS OS, and that you should ideally be installing FreeNAS to flash media. Assuming that you are happy with your selected disk, select Yes and press enter to continue with the installation process.
You will now be given the opportunity to supply a root password. Although a root password is not actually required, a password should definitely be used in any production deployment.
Finally, the installer will ask you if you want to boot from BIOS or UEFI. Make your selection, press Enter, and FreeNAS will be installed.
About the Author
You May Also Like


.jpg?width=700&auto=webp&quality=80&disable=upscale)
