How to Implement Microsoft 365 Data Loss PreventionHow to Implement Microsoft 365 Data Loss Prevention
Here’s what you need to know about Microsoft 365 Data Loss Prevention tools.
December 21, 2020
When it comes to keeping sensitive data safe and adhering to regulatory compliance requirements, few Microsoft 365 features are as useful as the Data Loss Prevention (DLP) feature. Microsoft 365 Data Loss Prevention allows organizations to identify data that is deemed to be sensitive, and then take steps to prevent that data from being leaked or otherwise misused by employees.
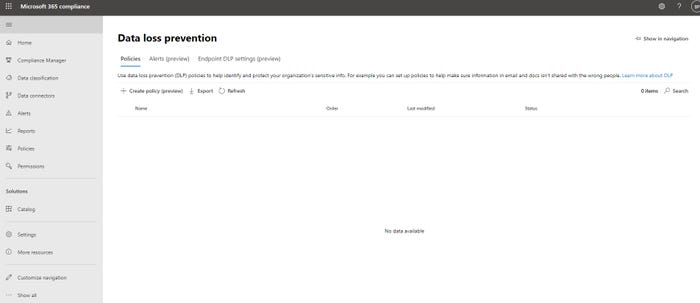
The Microsoft 365 Data Loss Prevention capabilities are based around the use of DLP policies. If you want to create a DLP policy, log into the Microsoft 365 Compliance Center, and then click on Policies, followed by Data Loss Prevention. Now, make sure that the Policies tab is selected, and then click on the Create Policy link, shown in Figure 1.
DLP 1
Figure 1
Click on the Create Policy link.
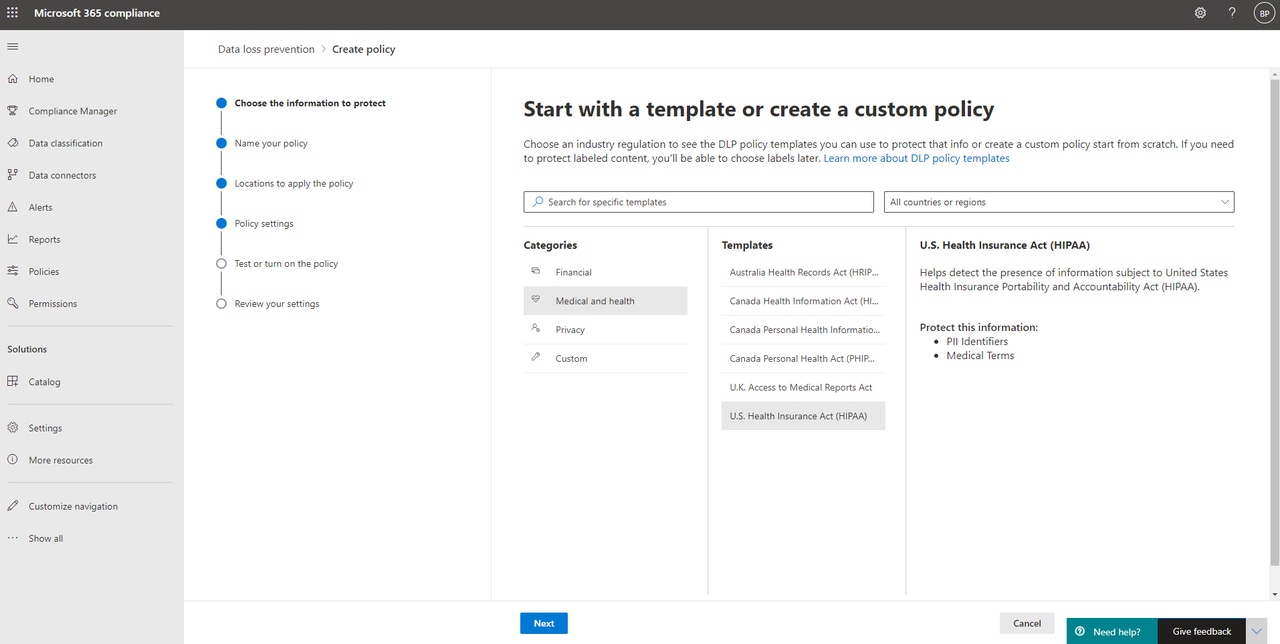
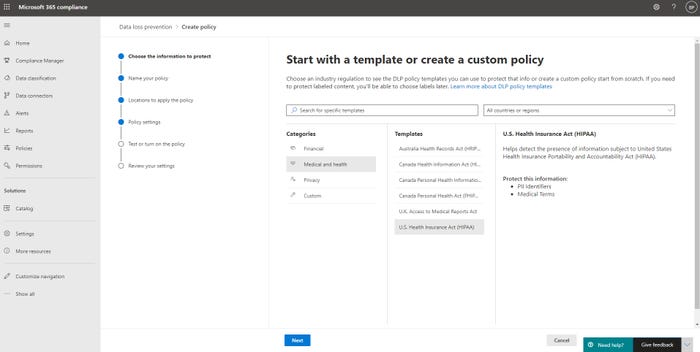
At this point, the console will launch a wizard that guides you through the process of creating a DLP policy. If you look at Figure 2, you can see that Microsoft offers DLP policy templates that cover the most common situations (such as the need to comply with government regulations). The HIPAA policy template, for example, detects personally identifiable information and also looks for medical terms. Of course, you can also create your own custom policies.
DLP 2
Figure 2
There are numerous pre-defined policy templates.
The wizard’s remaining screens are all really self explanatory. For example, you have the option of choosing the Microsoft 365 applications to which you want to apply the policy. You are also given the choice of enabling the policy right away, or of testing the policy for a while before actually enforcing it (which is usually recommended).
Rather than going through all of the wizard’s steps in granular detail, I want to show you some of the other features that are part of Microsoft 365 Data Loss Prevention.
If you look back at the first screen capture, you will notice that there are a series of tabs along the top of the Microsoft 365 Data Loss Prevention screen. These tabs allow you to access two new features that are currently in preview: Alerts and Endpoint DLP Settings.
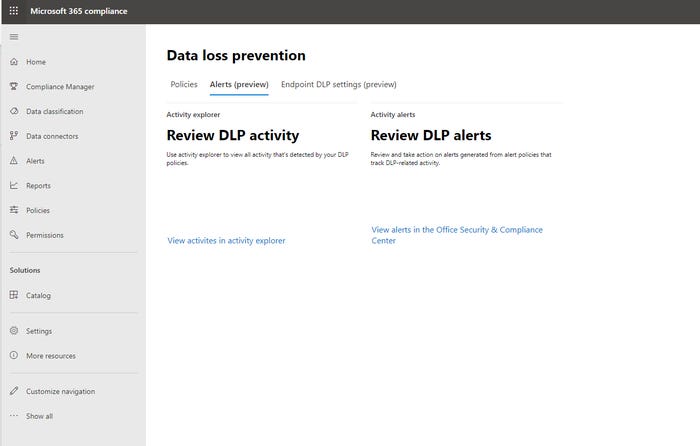
The Alerts tab, which you can see in Figure 3, gives you a handy place to access the alerts that have been generated by your DLP policies.
DLP 3
Figure 3
You can use the Alerts tab to access DLP related alerts.
As you look at the figure above, you will notice that there are two different options for accessing DLP data. One option is to click the View Alerts in the Office Security and Compliance Center Clicking this link does the same thing as clicking on the Alerts tab on the left side of the screen. However, clicking on the View Activities in Activity Explorer link takes you to the Activity Explorer. You can access the Activity Explorer directly through the Data Classification tab on the left side of the screen. It is worth noting, however, that if you want to use the Activity Explorer to browse DLP related activity, you will need a Microsoft 365 E5 subscription.
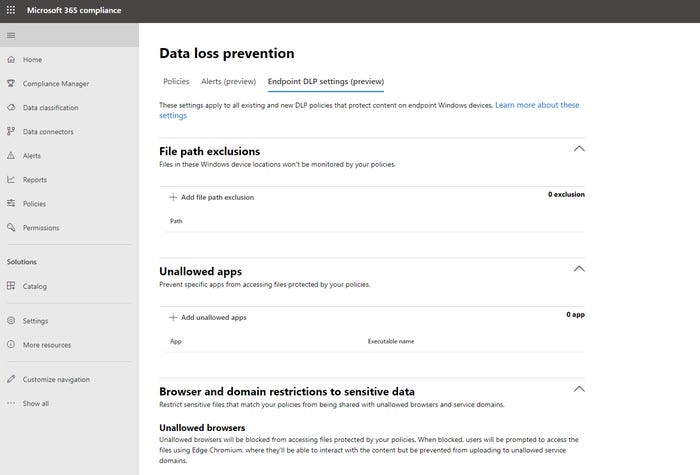
As previously mentioned, the other tab at the top of the Microsoft 365 Data Loss Prevention screen is Endpoint DLP Settings. This tab, which you can see in Figure 4, gives you a degree of administrative control over how sensitive data is protected on Windows PCs.
DLP 4
Figure 4
You can use the Endpoint DLP Settings tab to protect sensitive data on Windows endpoint devices.
The first setting found on the Endpoint DLP Settings tab is the File Path Exclusions setting. This setting allows you to prevent your DLP policy from monitoring specific folders on endpoint devices. You might do this, for example, if a particular folder is known to contain sensitive data (or data that would yield a false positive result), and you want to cut down on the number of alerts.
The next section found on this screen pertains to unallowed applications. This section gives you the option of blocking individual applications from accessing data that is governed by your DLP policy. For example, you might choose to block Notepad in an effort to keep users from copying and pasting sensitive data.
Just below that, you have the ability to choose which browsers you want to block, where DLP protected data is concerned. Similarly, you can designate specific service domains. A service domain is a domain to which sensitive data may be uploaded.
As you can see, Microsoft 365 Data Loss Prevention policies can go a long way toward preventing sensitive data from being misused by your employees. These same policies can also help you to meet your organization’s compliance requirements.
Read more about:
MicrosoftAbout the Author
You May Also Like


.jpg?width=700&auto=webp&quality=80&disable=upscale)
