How to Make Amazon EBS Work with Elastic Kubernetes ServiceHow to Make Amazon EBS Work with Elastic Kubernetes Service
Here’s how to use Amazon EBS to set up persistent storage for Elastic Kubernetes Service.
July 21, 2020

Amazon makes it relatively easy to set up persistent storage for Amazon’s Elastic Kubernetes Service, using Amazon EBS (Elastic Block Store). Amazon provides an Amazon EBS Container Storage Interface Driver that is ideally suited to this purpose. In this article, I will show you how to set it up and add a bit of context to Amazon’s specifications.
Before I show you how to deploy and configure the Amazon EBS driver, there are a couple of prerequisites you need to be aware of. First, this article assumes that you already have an EKS cluster in place, and that it is running Kubernetes version 1.14 or higher (you will also need Kubectl version 1.14 or higher). I’m also assuming that you have already installed the AWS CLI environment (the configuration process is command-line based).
The first step in the Amazon EBS for Elastic Kubernetes Service configuration process is to create an IAM policy called Amazon_EBS_CSI Driver. This policy will give the driver permission to make the necessary AWS API calls. Thankfully, you don’t have to create this policy from scratch. You can simply download a preconfigured JSON file from GitHub and then tell AWS to create the policy based on that file. Here are the commands that you will need to use:
curl https://raw.githubusercontent.com/kubernetes-sigs/aws-ebs-csi-driver/v0.4.0/docs/example-iam-policy.json -OutFile example-iam-policy.jsonaws iam create-policy --policy-name Amazon_EBS_CSI_Driver --policy-document file://example-iam-policy.jsonIncidentally, when I was writing this article, I had a bit of trouble getting the curl command to work on a Windows machine. I ended up using the PowerShell Invoke-WebRequest cmdlet instead. The command looks something like this:
Invoke-WebRequest -URI “https://raw.githubusercontent.com/kubernetes-sigs/aws-ebs-csi-driver/v0.4.0/docs/example-iam-policy.json” -OutFile “C:Tempexample-iam-policy.json”This command stores the JSON file in the C:Temp folder.
When you create the new policy, AWS will return an ARN number, like the one shown below. You will need to make note of this number.
arn:aws:iam::111111111111:policy/Amazon_EBS_CSI_DriverThe next thing that you will need to do is to retrieve the IAM role name for your worker nodes. IAM is Amazon-speak for Identity and Access Management. It’s the mechanism that is used to manage users and permissions within your Amazon account. In this case, the IAM roles give your worker nodes the permissions that they need to function. The command that is used to retrieve the IAM role names is:
kubectl -n kube-system describe configmap aws-authExamine the output and make note of all of the rolearn values that are returned. There should be one value for each of your cluster’s node groups. The relearn value will generally look something like this:
rolearn: arn:aws:iam::111111111111:role/eksctl-alb-nodegroup-ng-12345678-NodeInstanceRole-ABCDEFGHIJKLYou will also need to make note of any relearn values that mention the system node group.
Now it’s time to link the previously mentioned Amazon_EBS_CSI_Driver IAM policy to your IAM roles. Following is what the command looks like. The sections between the greater-than and less-than signs <> reference the example values that I used above. You will need to replace these example values with your own values. You will also need to omit the greater-than and less-than signs. Here is what the command looks like:
aws iam attach-role-policy --policy-arn arn:aws:iam::<111111111111>:policy/Amazon_EBS_CSI_Driver --role-name Incidentally, you will need to repeat this process for each of the worker node IAM roles that are in use.
The next step in the process is to deploy the EBS CSI driver, using the Kubernetes Kubectl command. Here are the two commands that are required:
kubectl version --client --shortkubectl apply -k "github.com/kubernetes-sigs/aws-ebs-csi -driver/deploy/kubernetes/overlays/stable/?ref=master"How Do I Know If It Worked?
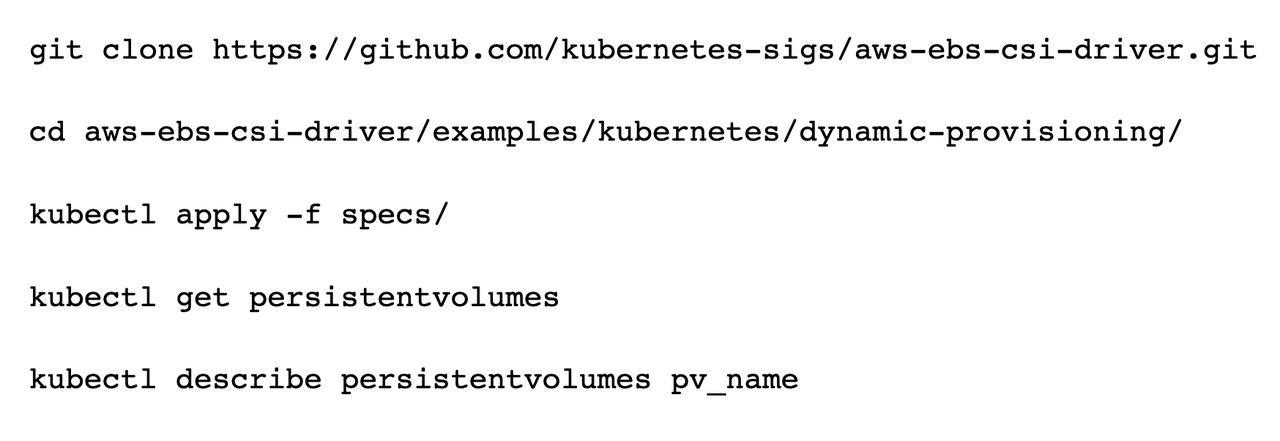
At this point, everything should be in place, and Kubernetes should be equipped to use Amazon EBS storage. Amazon provides a procedure that you can use to test your Amazon EBS configuration to make sure that it is working. The test works by cloning the aws-ebs-csi-driver repositor found on GitHub, and then creating a storage class, a persistent volume claim and a pod. You can then verify that the pod was able to create a persistent volume on EBS storage. Here are the commands used in the test:
git clone https://github.com/kubernetes-sigs/aws-ebs-csi-driver.gitcd aws-ebs-csi-driver/examples/kubernetes/dynamic-provisioning/kubectl apply -f specs/kubectl get persistentvolumeskubectl describe persistentvolumes pv_nameIf you want to take things a step further and make sure that your pod is actually writing data to the newly created persistent volume, use this command:
kubectl exec -it app cat /data/out.txtConclusion
Although there are a lot of steps involved in configuring Kubernetes to use a persistent volume on Amazon EBS, the procedure is relatively straightforward. If you need additional help, I encourage you to check out Amazon’s documentation.The Amazon documentation uses the same commands that I used here, but provides links to ancillary resources that may be helpful if you run into problems.
Read more about:
AmazonAbout the Author
You May Also Like


.jpg?width=700&auto=webp&quality=80&disable=upscale)
