How to Install Eclipse in Ubuntu 20.04
Here are two ways to install Eclipse – and one way not to install Eclipse – in Ubuntu 20.04.

Although Eclipse, a free and open source Integrated Development Environment (IDE), is nearly 20 years old, it remains widely popular. By some measures, it’s the second-most popular IDE on the market today. It’s easy to understand why: With support for hundreds of different programming languages and frameworks, Eclipse makes it easy for developers to write whichever type of code they need. Eclipse also remains under active development, with new enhancements appearing with each new release. And because Eclipse runs on every major operating system, it allows developers to do their work on their platform of choice.
Among those platforms is Ubuntu, the Linux-based operating system from Canonical. In this article, we’ll walk through how to install Eclipse on Ubuntu 20.04 (codenamed Focal Fossa). While the Eclipse installation process for Ubuntu 20.04 is similar to that for other operating systems, there are some differences. Above all, as noted below, attempting to install Eclipse on Ubuntu 20.04 using the Software Center or apt-get won’t work, so you’ll need to use an alternative approach.
Installing Eclipse on Ubuntu 20.04 (Focal Fossa)
There are two ways to go about installing Eclipse successfully on Ubuntu 20.04.
1. Graphical Eclipse Install
First, you can install Eclipse graphically by browsing to the Eclipse package download page on the Eclipse website and selecting the Linux 64-bit option. (You’ll see that there are actually a number of different Eclipse versions that you can download from that page; unless you know you need a different version, select the “Eclipse IDE for Java Developers” option. You can program in other languages beyond Java on this version if you need to by installing plugins.)
The file will download as a Zip archive. You can open it using File-Roller, Ubuntu’s default program for handling file archives. You’ll see something like this:

Screen Shot 2020-10-25 at 10.47.35 AM_0
Right-click on the eclipse folder name and select the extract option. You’ll be asked where you want to extract the folder to. Choose any location you like (your home folder may be a good choice); just remember where you select because you’ll need to know for the next step.
After extraction is complete, open a file browser and navigate to the location of the extracted files, which will look like this (in this example, I extracted the files to the /tmp/ directory):

Screen Shot 2020-10-25 at 10.47.47 AM_0
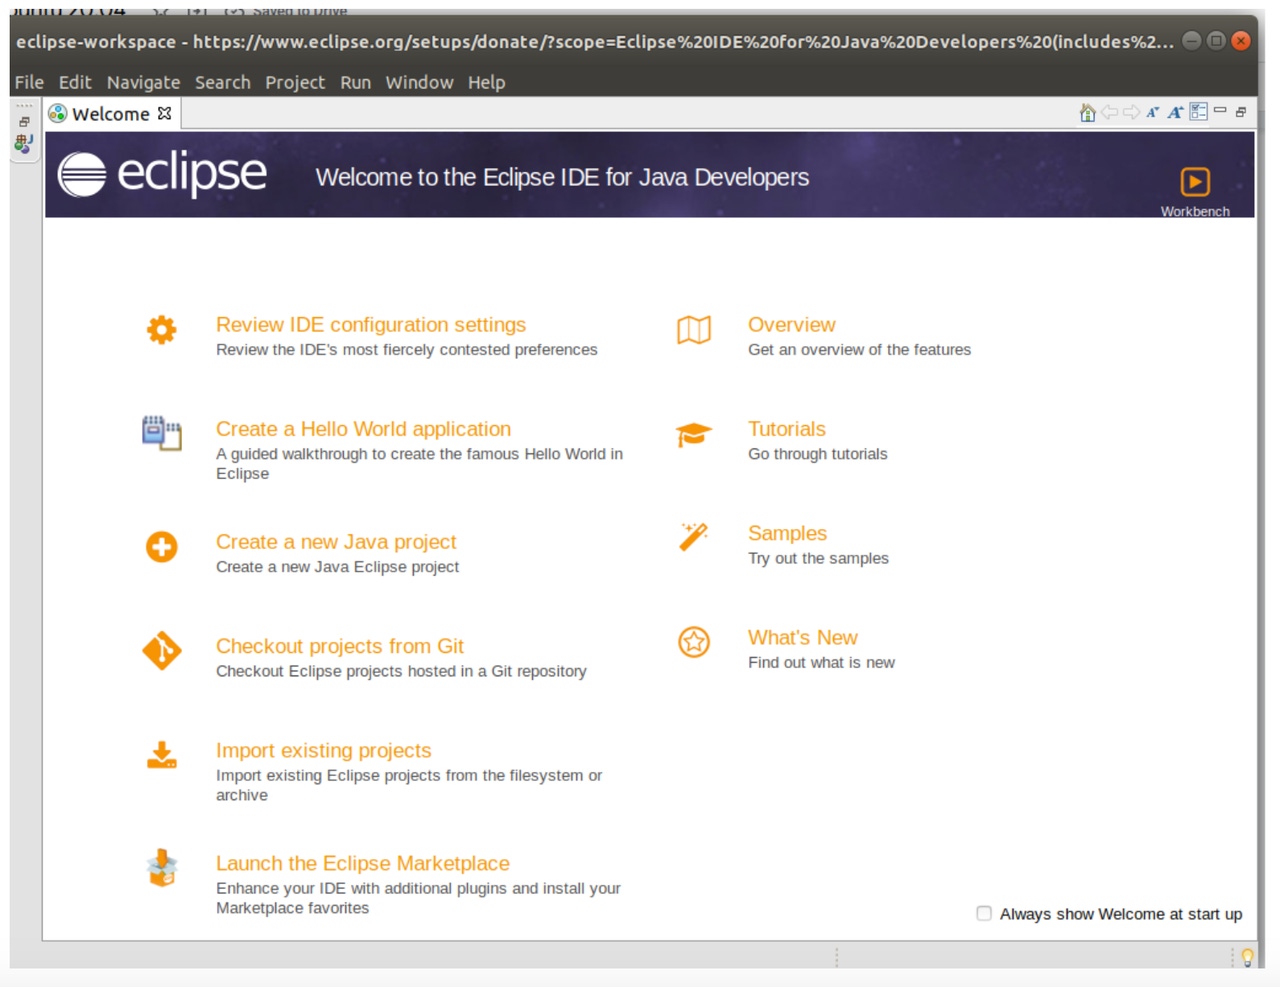
Double-click the icon labeled eclipse (the one selected in the screenshot above) and Eclipse will start.

Screen Shot 2020-10-25 at 10.47.58 AM
Simplifying access to Eclipse
Note that with this method you haven’t fully installed Eclipse onto your system in the traditional sense of the word “install”; you’ve only copied the Eclipse binaries to a folder. Therefore, you won’t be able to find Eclipse alongside your other standard Ubuntu applications at this point. You’ll have to use your file browser to launch it manually, which is not convenient.
There are two ways to address this issue. One is to right-click on the Eclipse launcher icon, select the copy option and then paste the icon onto your desktop to create a shortcut launcher. With this approach, Eclipse still won’t be formally installed into the system, but it will be easy to access through the launcher.
Alternatively, you could copy the files into the /usr/bin directory of your system to install Eclipse properly and make it accessible like any other application. Note that you’ll need sudo privileges to copy files into /usr/bin.
Updating Eclipse
Note also that with this installation method Ubuntu won’t automatically update Eclipse for you because you used a third-party package to install it. You’ll need to go back to the Eclipse website and download the latest version of the application whenever you want to update to a new version. You also won’t get automatic security patches for Eclipse from Ubuntu, so this installation method is not ideal from a security perspective.
2. Install Eclipse on the Command Line
The second installation method is to install Eclipse using a snap package on the command line. This method is fast and easy; you just need to run two simple commands in the Ubuntu terminal:
sudo apt install default-jresudo snap install --classic eclipseWith this method, the Eclipse packages will be installed automatically into the system’s application directories. This enables you to launch Eclipse simply by searching for it in the Ubuntu toolbar. You don’t need to navigate to the Eclipse launcher manually or create a shortcut.
This method will also ensure that Eclipse is managed through the Ubuntu package management system. As long as you enable automatic updates for your Ubuntu software, Ubuntu will update Eclipse for you whenever a new package is released to address security flaws or other issues.
How Not to Install Eclipse in Ubuntu 20.04
If you’re wondering why this article doesn’t mention installing Eclipse through the Ubuntu Software Center or using apt-get, here’s why: On Ubuntu 20.04, the Eclipse package available in the Software Center and via apt-get has configuration issues related to Java. If you install Eclipse in one of these ways, Eclipse won’t start.
Instead, you should install Eclipse using a package from the Eclipse website (which is what we did in the graphical installation method described above) or using Ubuntu snap packages (which is what we did in the command-line method).
It’s possible that the issues with Java will be resolved in a future update, but, as of September 2020, installing Eclipse through the Software Center or via apt-get in Ubuntu 20.04 will result in an Eclipse that won’t run – at least, not without a lot of manual hacking, which is not worth the effort when there are simpler installation methods available.
About the Author
You May Also Like


.jpg?width=700&auto=webp&quality=80&disable=upscale)
