One feature that is available after an upgrade to Windows 10 is the ability to roll back to your previous version of Windows for the first 30 days after an upgrade.
This applies to new Insider builds and upgrades from eligible operating systems like Windows 7 or 8/8.1. Normally, this old version of Windows is removed after 30 days to free up the disk space.
Previously here on SuperSite for Windows we have shown you how to use the Disk Cleanup tool in Windows 10 to remove that old version of Windows to free up much needed disk space immediately instead of waiting for 30 days.
This is especially handy on small form factor devices with low disk space.
While that utility works very well, it does take two scans to get it setup to show the previous version of Windows as a removal option.
Well many users may not be aware but this same process, the removal of that old version of Windows, can be accomplished in the Windows 10 Settings App.
Just open up Settings and then head to System > Storage and you will see your This PC drive displayed at the top.
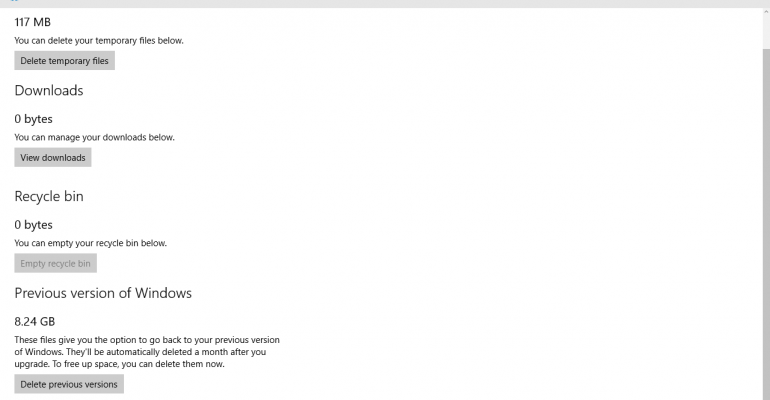
Simply click or tap on that to see the Storage usage breakdown page and then scroll to the bottom and click/tap on Temporary files and then on that page the last entry on that settings page is Previous version of Windows.
Just tap or click the Delete previous versions button to start the removal process. Once you have started deleting the previous version of Windows you can close out of settings and continue with other work on your system. The removal will continue in the background.
This gallery will give you a visual walk-through of the process mentioned above.


