
In a recent article, I explained that it is possible to improve the performance of a Hyper-V virtual machine by hosting it on a RAM disk. However, as nice as this idea may be, it does have one significant drawback: RAM disks are volatile, meaning that they instantly purge all their contents when the machine is powered off or rebooted.
Because RAM disks are a volatile storage type, it’s best to use them exclusively for stateless workloads. Additionally, it’s probably a good idea to keep a copy of the VM on a normal storage volume. That way, you don’t have to recreate the VM from scratch each time. As an alternative, you could write a script that automates the VM setup and performs an unattended operating system installation.
For this article, let’s assume that we have a stateless VM hosted on a server. Let’s also assume that, as a regular practice, we mount a RAM disk each time the server is booted. Our goal is to copy the VM to the RAM disk and run it from there.
While this entire sequence can easily be scripted, I want to guide you through the process step by step instead.
Exporting the Virtual Machine
The first step in the process is to export the virtual machine. The export action creates a virtual machine copy that we can then use to generate additional VM copies as required.
To export a virtual machine, begin by opening an elevated PowerShell session and entering the Export-VM cmdlet. Specify the virtual machine name and the target folder (the location for storing the exported copy) as parameters. For instance, if you want to export a virtual machine named VM to the D:\VMs folder, the command would be:
Export-VM -Name VM -Path D:\VMs
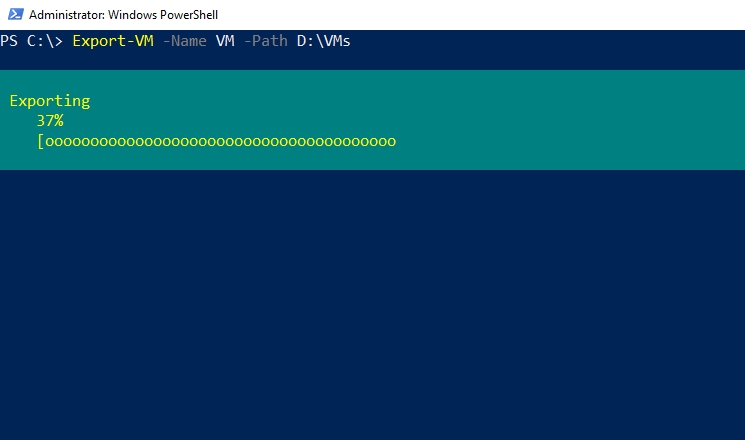
Figure 1. The virtual machine is being exported.
You can export a virtual machine to any path. Nevertheless, you should take a note of the exact path you specified during the export process. You will need this information later.
It is also worth highlighting that the export process only creates a reproducible copy of the virtual machine. The original virtual machine remains intact and continues to reside in its original location, as shown in Figure 2.
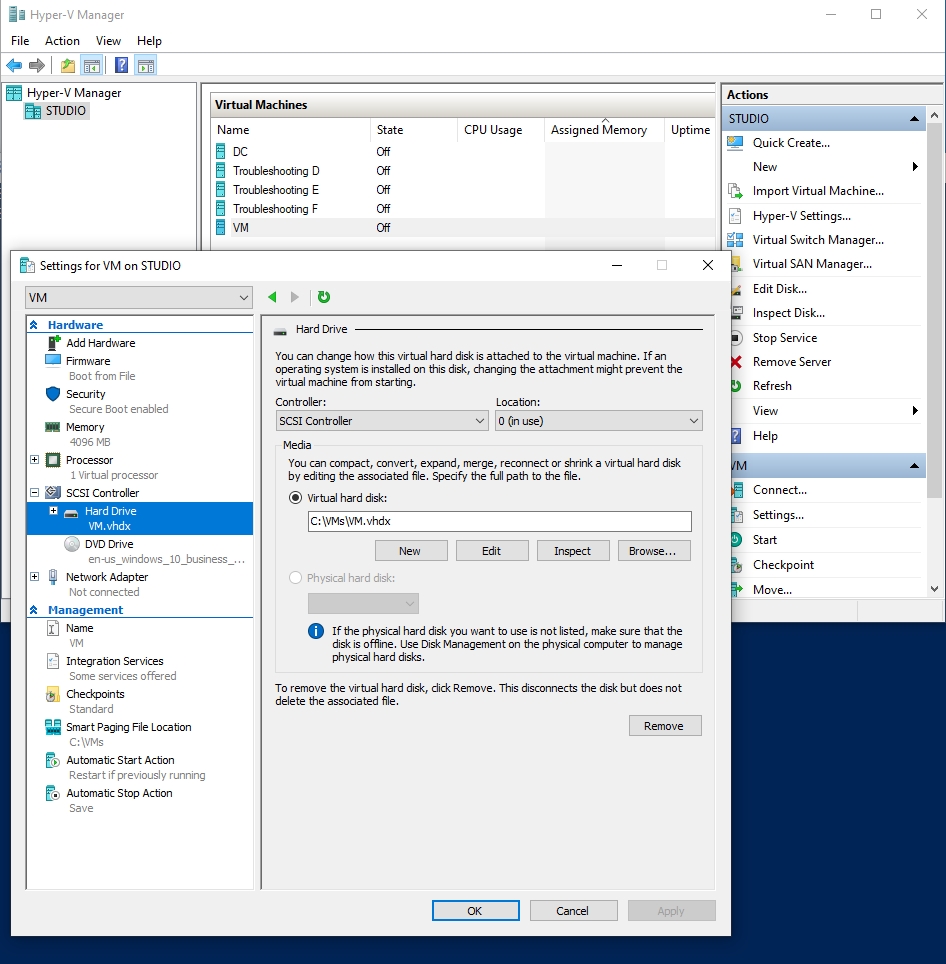
Figure 2. The virtual machine remains in its original location, unaffected by the export process.
The export location that you specify contains a full copy of the virtual machine. Before you can create clones of the exported virtual machine, you must find the identifier assigned to it by Hyper-V. To do so, follow these steps:
- Open File Explorer and navigate to the location that you specified during the export process.
- Once there, open the folder with the name of the virtual machine. In my case, I exported a VM named VM to D:\VMs, so the path would be D:\VMs\VM\Virtual Machines.
- When you are in the correct folder, find a file with a .VMCX extension and take note of its name. In my case, the file is called BD45FCC2-F93A-492D-A9F5-0CB58B73686D.vmcx.
Where you go from here depends on what you want to accomplish. There is one technique for situations where you want to delete the original VM and use the exported copy to spawn a new VM each time the RAM disk is mounted. There is a separate technique for running the RAM disk VM concurrently with the original VM (so that the original VM is never deleted)
Replacing the VM
If your goal is to replace the VM with a copy hosted on a RAM disk, make a backup of the VM as a precaution. Next, import the VM to the desired location. If the exported VM is named VM and resides in D:\VMs, you might use a command like this:
Import-VM -Path 'D:\VMs\VM\Virtual Machines\BD45FCC2-F93A-492D-A9F5-0CB58B73686D.vmcx' -copy -VHDDestinationPath 'C:\VMs\VM' -VirtualMachinePath 'C:\VMs\VM'
In this example, the VM is being imported to C:\VMs. However, in the real world, you would use a path on your RAM disk. In Figure 3, note that the command refers to the .VMCX file mentioned earlier.
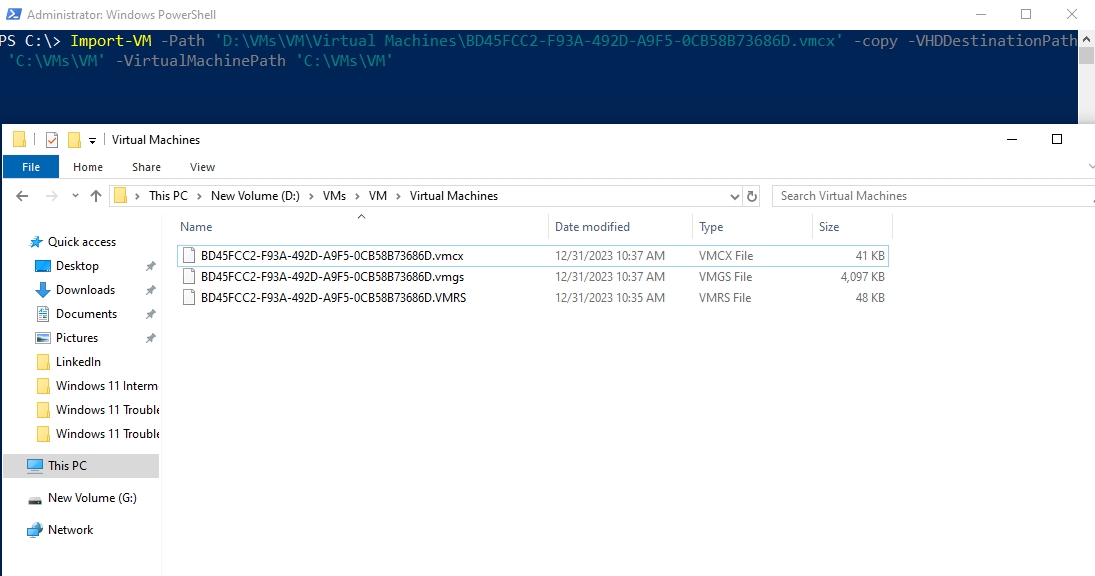
Figure 3. The import command will need to reference the exported VM’s .VMCX file.
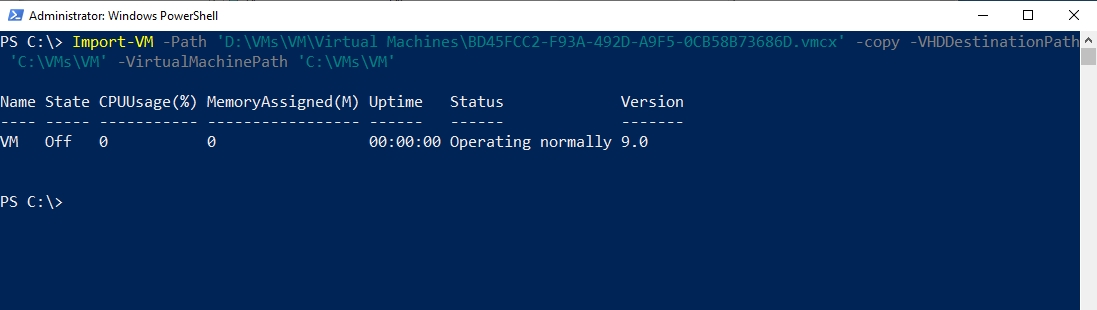
Figure 4. This is what the import process looks like.
The import process creates a fully functional Hyper-V virtual machine. In Figure 5, you can see that this VM resides at the location specified by the import command. The exported copy still exists, as shown in Figure 6. The exported copy can be used to spawn as many VM copies as you need.

Figure 5. The import command has created a new virtual machine.
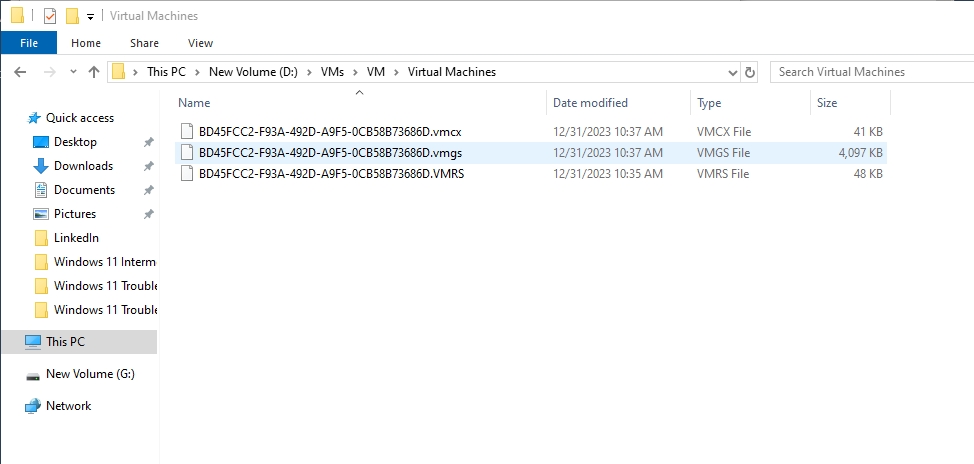
Figure 6. The exported copy still exists.
Creating a Duplicate VM
In some cases, it might be better to create a duplicate VM that is hosted alongside the original, rather than deleting and replacing the original VM. However, depending on how the VM is configured, you may not want to run both VM copies simultaneously. The command for creating a secondary VM copy closely resembles the one I shared earlier:
Import-VM –Path 'D:\VMs\VM\Virtual Machines\BD45FCC2-F93A-492D-A9F5-0CB58B73686D.vmcx' -Copy -GenerateNewID
Notice that this command uses the -Copy and the -GenerateNewID parameters. This causes the new copy to be assigned a virtual machine identifier that is different from that of the original VM, enabling both copies to coexist. You can see the command in action in Figure 7.
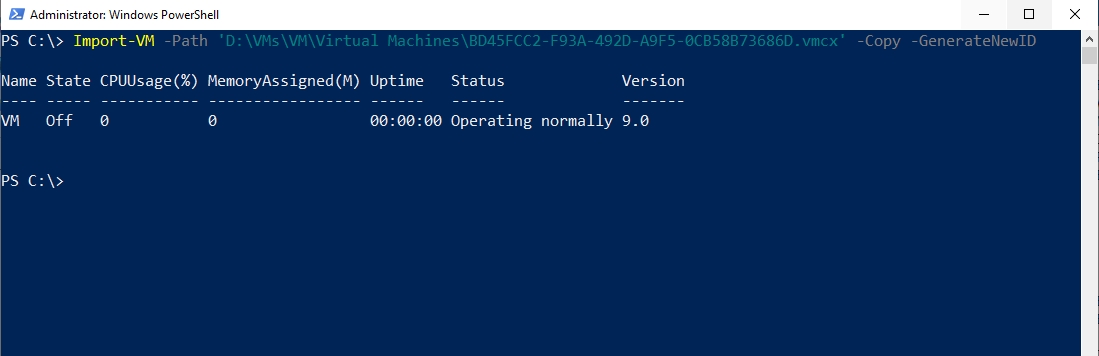
Figure 7. The Import-VM cmdlet can be used to create a secondary virtual machine copy.
When the command completes, Hyper-V now has two identical virtual machines capable of running side by side, as shown in Figure 8.
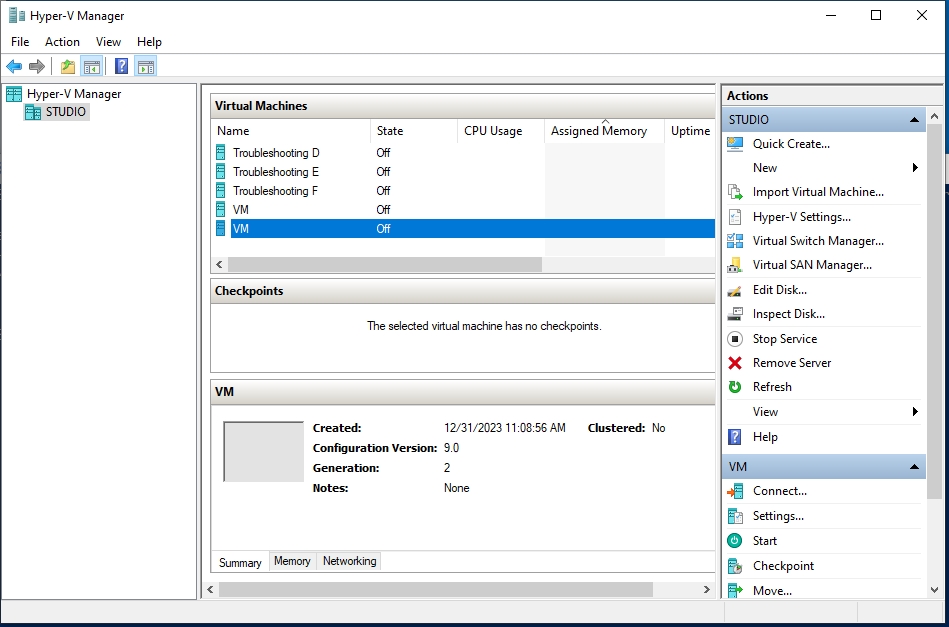
Figure 8. There are now two virtual machine copies.
The two copies, while identical, are stored in separate paths, illustrated in Figure 9.
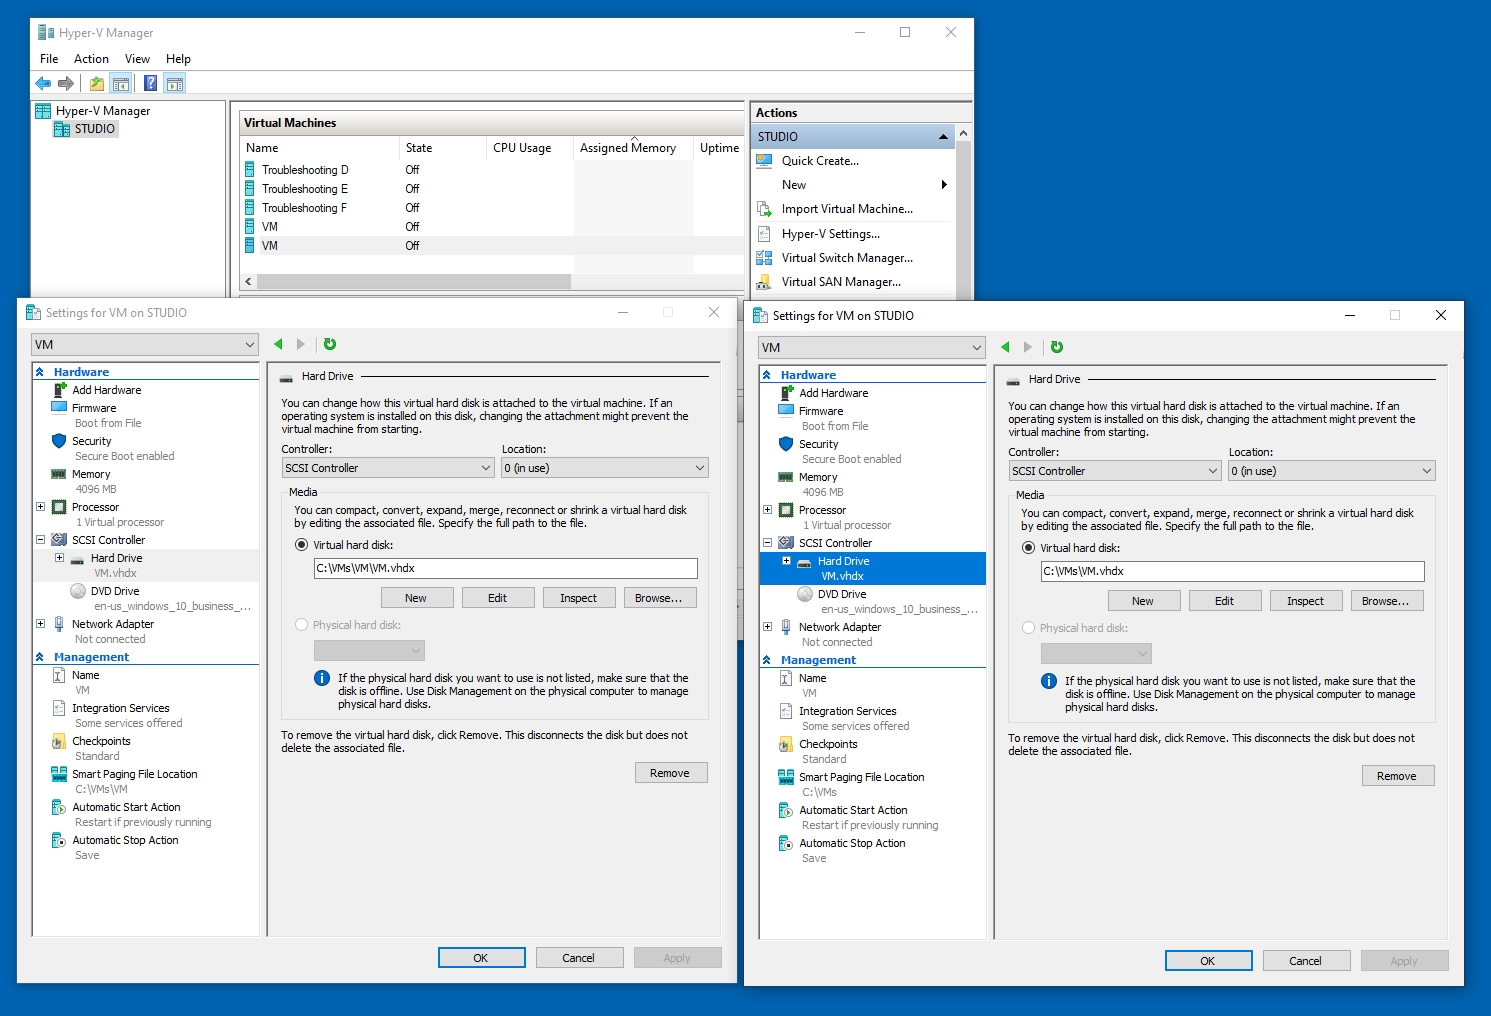
Figure 9. The two virtual machine copies are entirely separate from one another, with files being stored in differing locations.
About the author
 Brien Posey is a bestselling technology author, speaker, and 21x Microsoft MVP. In addition to his ongoing work in IT, Posey has trained as a commercial astronaut candidate in preparation to fly on a mission to study polar mesospheric clouds from space.


