the microsoft hololens glasses on display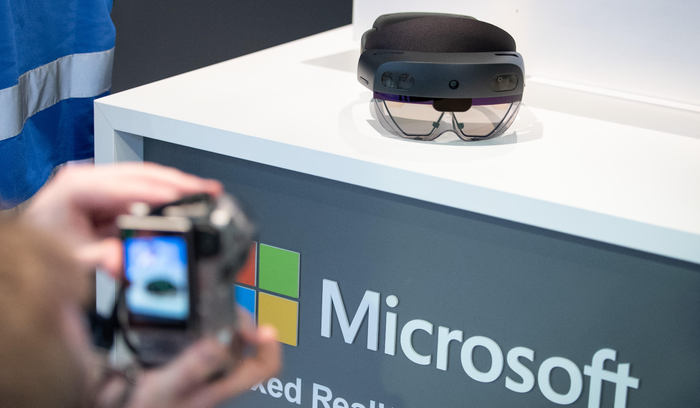
Digital TransformationWhat Comes After HoloLens 2? Exploring Microsoft’s AR/VR FutureHoloLens 2 Discontinued: What’s Next for Microsoft AR Glasses?
Microsoft revealed no plans for an immediate HoloLens 2 successor, raising questions about the company’s commitment to its VR/AR technologies.


.jpg?width=100&auto=webp&quality=80&disable=upscale "Picture of Richard Hay")

.png?width=300&auto=webp&quality=80&disable=upscale "Windows 10 21H1 Update Now Available for Pre-Release Validation")


Editor's Choice


Featured Technical Explainers


Recent What Is
.jpg?width=700&auto=webp&quality=80&disable=upscale)

Sign up for the ITPro Today newsletter
Stay on top of the IT universe with commentary, news analysis, how-to's, and tips delivered to your inbox daily.