
Several months ago, I published an article explaining a PowerShell-based password generator I had created. The script was designed to generate random, highly complex passwords from the command prompt. While the script functions, I haven’t been able to shake the feeling that I should have gone further – specifically, by making a script suitable for common use cases instead of just being a generic password generator. As such, I want to revisit the script and demonstrate how to adapt it for Active Directory automation.
- Converting the Original PowerShell Script Into a Function
- Creating the Module
- The Policy Configuration File
- Extract From the Security Information
- Converting Passwords Into Secure Strings
- Assigning Passwords to Active Directory Users
If you are interested in understanding how the script works, I recommend referring back to my original article. Although I have made a few changes to the script, it still works in essentially the same way as my original script. Therefore, I am going to focus primarily on adapting it for Active Directory password automation rather than delving deeply into PowerShell coding. This doesn’t mean I will completely avoid discussing PowerShell. Everything I am about to show you is related to PowerShell.
Converting the Original PowerShell Script Into a Function
With that in mind, the first step I took to automate Active Directory password assignments was converting my original script into a PowerShell function.
Here is what the function looks like:
Function Generate-Password {

Param(
                  [Int]$Length
                  )

# Define Character Sets

$UpperCase=@('A','B','C','D','E','F','G','H','I','J','K','L','M','N','O','P','Q','R','S','T','U','V','W','X','Y','Z')
$LowerCase=@('a','b','c','d','e','f','g','h','i','j','k','l','m','n','o','p','q','r','s','t','u','v','w','x','y','z')
$Numbers=@('1','2','3','4','5','6','7','8','9','0')
$Symbols=@('!','@','$','?','<','>','*','&')


$PossibleCharacters = @('A','B','C','D','E','F','G','H','I','J','K','L','M','N','O','P','Q','R','S','T','U','V','W','X','Y','Z','a','b','c','d','e','f','g','h','i','j','k','l','m','n','o','p','q','r','s','t','u','v','w','x','y','z','1','2','3','4','5','6','7','8','9','0','!','@','$','?','<','>','*','&')

                  # Check to see if all character sets are used

                  $HasUpperCase=0
                  $HasLowerCase=0
                  $HasNumbers=0
                  $HasSymbols=0

                  While($HasUpperCase -eq 0 -or $HasLowerCase -eq 0 -or $HasNumbers -eq 0 -or $HasSymbols -eq 0)
                                    {
                                    $Password=""

                                    $PasswordArray = $PossibleCharacters | Get-Random -Count $Length
                                                      For ($Index=0; $Index -lt $Length; $Index++)
                                                      {
                                                      $Password=$Password+$PasswordArray[$Index]
                                                      }


                                    # Test the password that has been created to make sure it fits the criteria

                                    For ($Index=0;$Index -lt $Length; $Index++)
                                                      {
                                                      $Character=$Password.Substring($Index,1)
                                                      If ($UpperCase -Ccontains $Character) {$HasUpperCase=1}
                                                      If ($LowerCase -Ccontains $Character) {$HasLowerCase=1}
                                                      If ($Numbers -Contains $Character) {$HasNumbers=1}
                                                      If ($Symbols -Contains $Character) {$HasSymbols=1}
                                                      }
                                    }


Return $Password
}
########End of Function######
As previously noted, the PowerShell code still operates similarly to my original script. However, I have now encapsulated the script into a function called Generate-Password. To use this function, you will need to pass it a value corresponding to the desired password length. Once that happens, the function will generate and return a password matching your specifications. The password uses a mix of uppercase and lowercase letters, numbers, and symbols.
Of course, the ultimate goal isn’t just password generation but Active Directory automation. The function that I have created doesn’t contain any Active Directory-related code. For that, I will need another script. I could embed this function into the script that is yet to be created. It’s also possible to call one script from another. Yet, for this article, I think the best approach is to incorporate the function into a module. This way, you can use the function as if it were a standalone cmdlet.
Creating the Module
In PowerShell, a module is essentially a collection of functions that operate similarly to standalone cmdlets. To create a module, begin by copying the above code into a text file. This text file will become your module, and you can include any other functions you wish to add to it.
When you are done, you will need to scroll to the bottom of the text file and add the Export-ModuleMember cmdlet. For each function within the module file, you will need a separate Export-ModuleMember command. The only parameter required is the name of the corresponding function. In this case, for example, my function is called Generate-Password. As such, the last line in my module file would be:
Export-ModuleMember -Function Generate-Password
Keep in mind that this command must be placed after the function and must not appear within the brackets that designate the function code.
Next, save the text file and rename it so that it has a .PSM1 file extension. You will need to save the file to the PowerShell Modules path, typically located at C:\Program Files\WindowsPowerShell\Modules. You can find the exact module paths for your system by entering the following command:
$env:PSModulePath
It is worth noting that you will need to create a folder with the same name as the module file and place the module file in that folder. For instance, in my case, I created a folder named C:\Program Files\WindowsPowerShell\Modules\PasswordModule. Then, I placed the PasswordModule.psm1 file that I created into this folder, as shown in Figure 1.
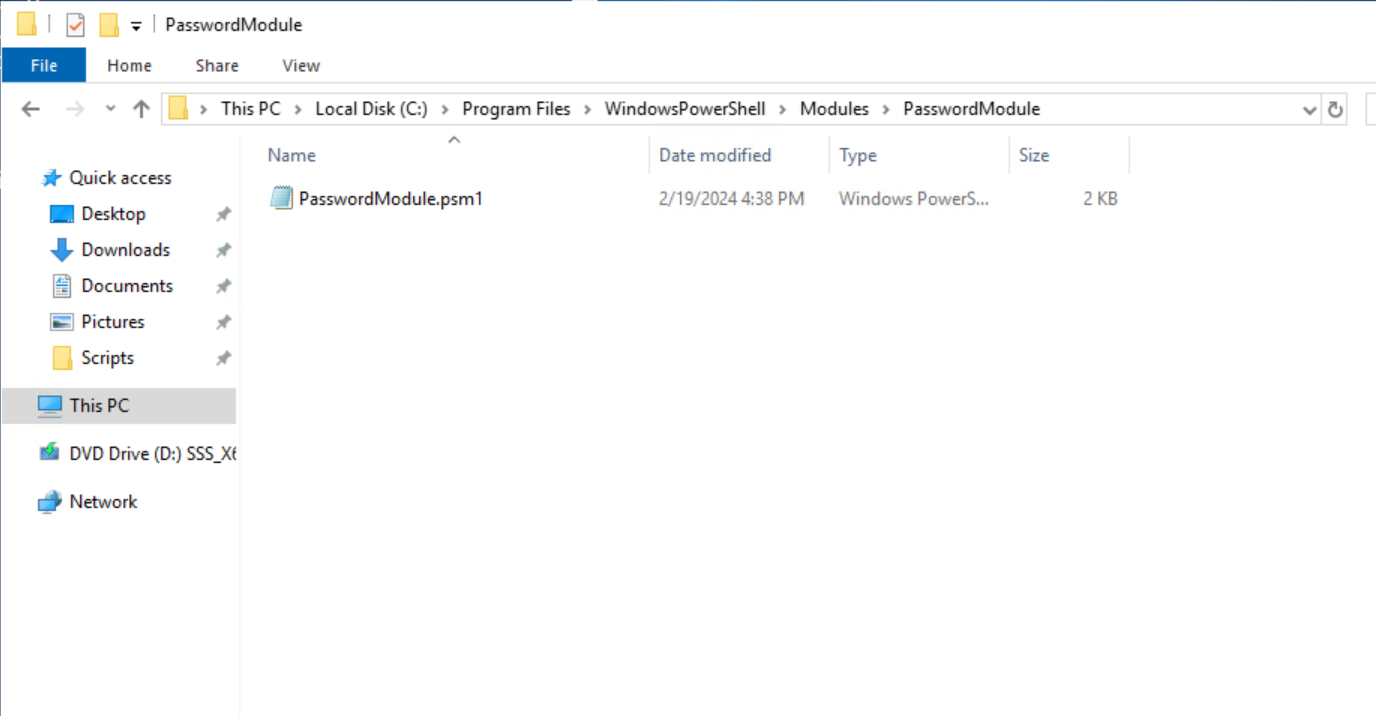
Figure 1. I copied my module file to the Modules folder.
To use the module, the only thing you must do is import it. You can import the module by using this command:
Import-Module PasswordModule
If you receive a warning message like the one in Figure 2, just ignore it.
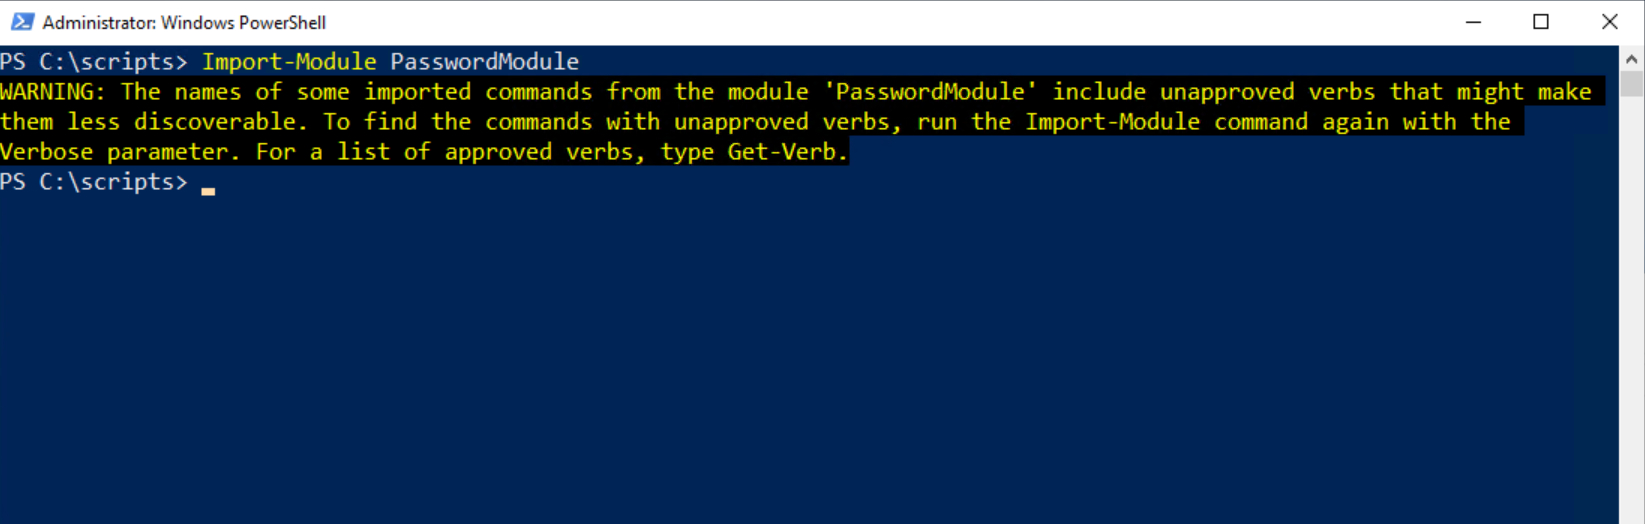
Figure 2. Ignore any warnings that you might receive.
If you want to test the module, you can do so by entering these commands:
$Password = Generate-Password -Length 12
$Password
Upon entering these commands, PowerShell should show you a random password that it has generated, as shown in Figure 3.
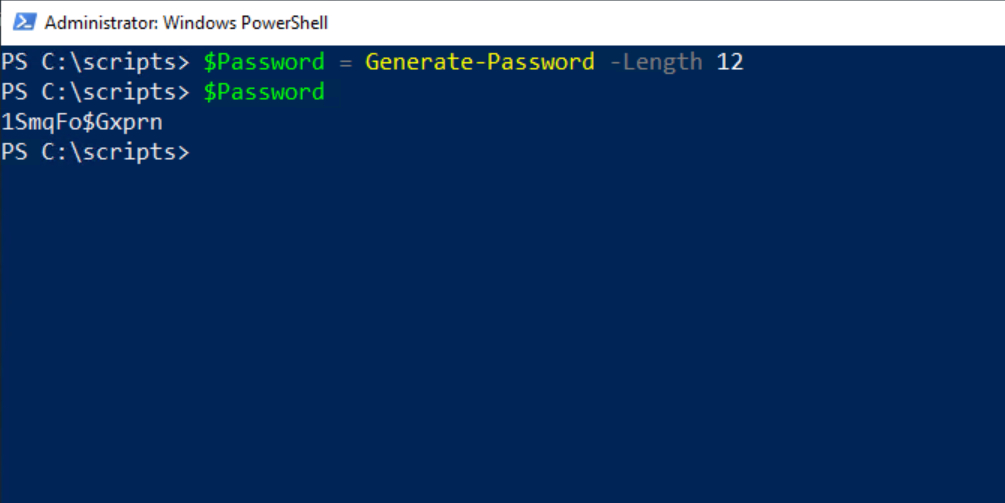
Figure 3. PowerShell is using the module to generate a password.
Now that I have demonstrated how to build a module containing the Generate-Password function, it’s time to put that function to work.
The Policy Configuration File
I will show you how to use this function for automatically generating passwords for new Active Directory user accounts. Just to make things interesting, I want to tie the entire process to the organization’s password policy.
Tying the password generation process to the password policy presents a challenging because PowerShell has extremely limited access to group policy settings. In fact, accessing the password policy from the group policy is not even an option. While it is theoretically possible to read the password policy from the Windows registry, I have found that doing so tends to be somewhat unreliable, particularly if certain policy elements haven’t been configured.
The best way that I have found to get around this problem is to use a command-line tool called SecEdit. The SecEdit tool allows you to export your machine’s security configuration to a log file. Once exported, you can use PowerShell string manipulation techniques to determine the password policy.
It’s important to note that everything I am about to demonstrate requires an elevated PowerShell session. Without administrative privileges, these techniques won’t function properly.
With that said, we need to create a Temp folder (assuming it does not already exist). You can do this using the following PowerShell commands:
C:
CD\
MD Temp

Figure 4. You can create the Temp folder through PowerShell.
The next step is to write a policy configuration file to the Temp folder. Here is the command for doing so:
Secedit /export /cfg “C:\Temp\Policy.txt”
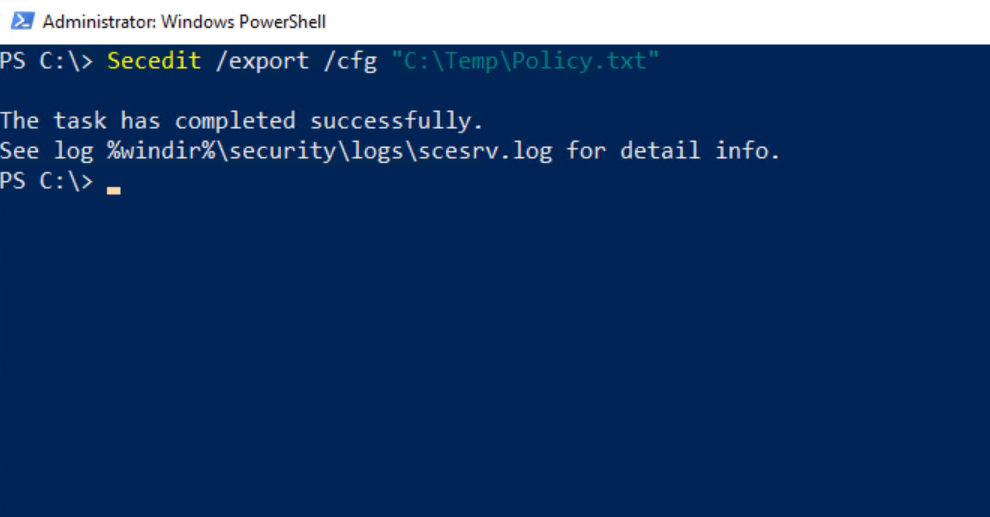
Figure 5. I have exported the security configuration to a text file.
With the text file created, the next step is to read the file into PowerShell. To do so, I used this command:
$File = Get-Content “C:\Temp\Policy.txt”

Figure 6. This screen capture shows the process of reading the file. You can also see what the file looks like.
Extract From the Security Information
Now that we have the machine’s security information stored within a PowerShell variable, we can use string manipulation to extract the desired elements. In this case, I am going to extract the machine’s minimum password length. Here are the commands that I used:
$Line=$File | Select-String -Pattern MinimumPasswordLength
$LineString = [String]$Line
$Minimum=$LineString.Substring(24)
$MinimumPasswordLength=[Int]$Minimum
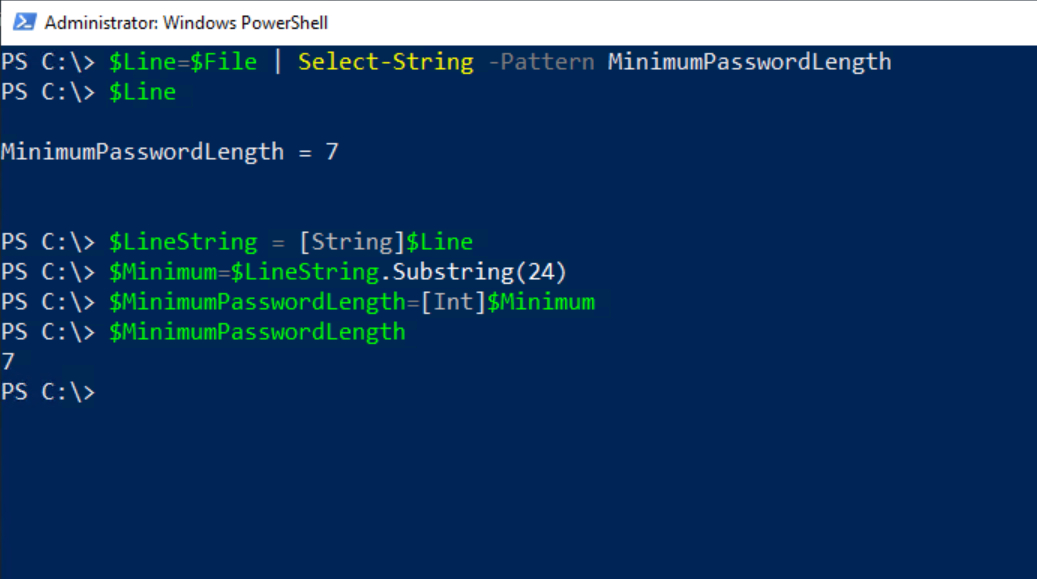
Figure 7. These commands extract the minimum required password length.
The first of these commands creates a variable called $Line. The $Line variable stores the line within the file that sets the minimum password length.
Initially, this information is in an unusable format, so I have created a second variable called $LineString. I am using this variable to force PowerShell to convert the minimum password length line into string format.
The third line creates yet another variable called $Minimum. I am using a substring to truncate the first 24 characters of the $LineString variable’s contents. This gets rid of everything except for the number representing the minimum password length.
Finally, I must convert the $Minimum variable’s contents from string format into integer format. This results in a variable called $MinimumPasswordLength that contains the machine’s required password length.
Converting Passwords Into Secure Strings
Now that we know the machine’s minimum required password length, we can generate a password that adheres to that requirement. Here is the PowerShell command:
$Password = Generate-Password -Length $MinimumPasswordLength
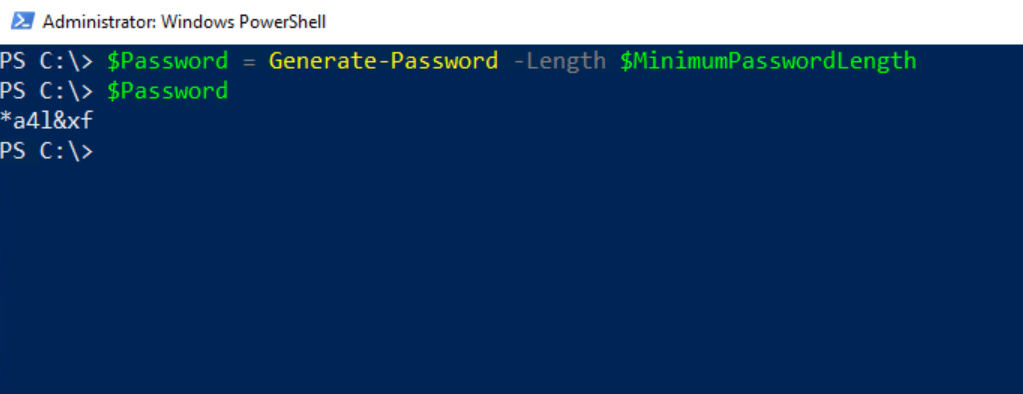
Figure 8. A new password has been generated based on the machine’s minimum required password length.
Having generated a password, we need to convert it into a secure string. Otherwise, the user creation process won’t work. Here is the command used for the conversion process:
$SecurePassword = ConvertTo-SecureString -String $Password -AsPlainText -Force
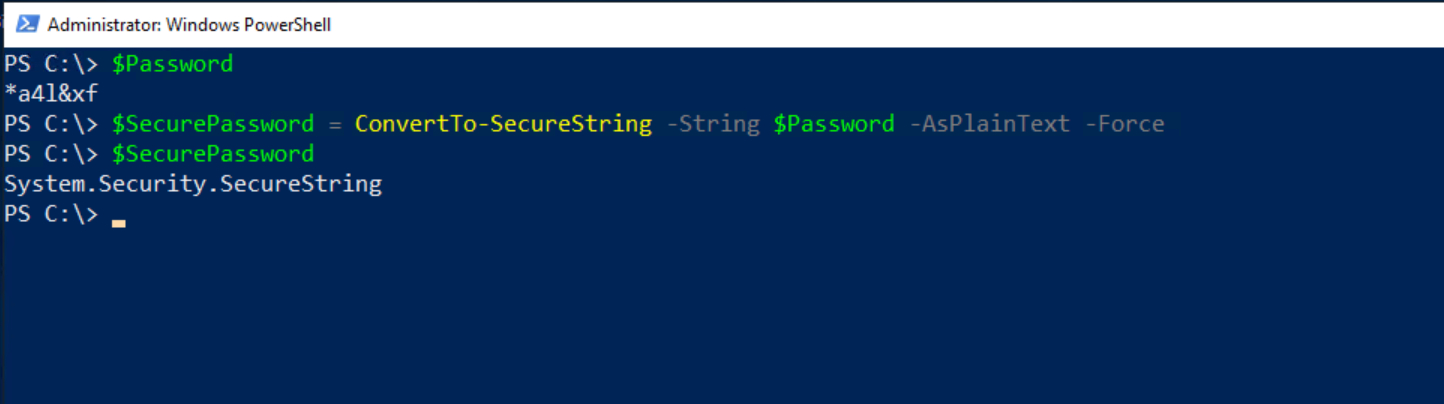
Figure 9. The password needs to be converted to a secure string.
Assigning Active Directory Passwords
The last step in the process is to generate an Active Directory user and assign them the newly generated password. There have been countless articles written on using PowerShell to create Active Directory user accounts, so I’m not going to go into all the intricacies. Instead, I am going to keep things simple.
The method that I am going to use involves creating an array called $User. I then assign three elements to the array (Name, AccountPassword, and Enabled). Next, I generate a new user account from the array. Here are the commands used to create the array:
$User = @{
    Name = 'User1'
    AccountPassword = $SecurePassword
    Enabled = $true
}
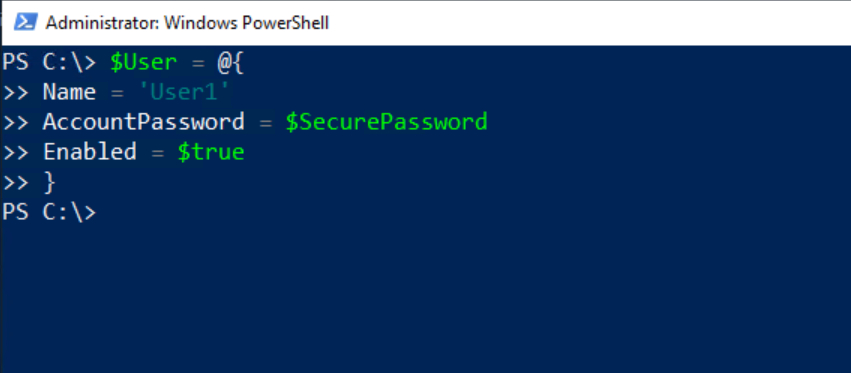
Figure 10. The account attributes have been added to the array.
With the array created, the only thing left to do is to create the account, which you can do with this command:
New-ADUser @User
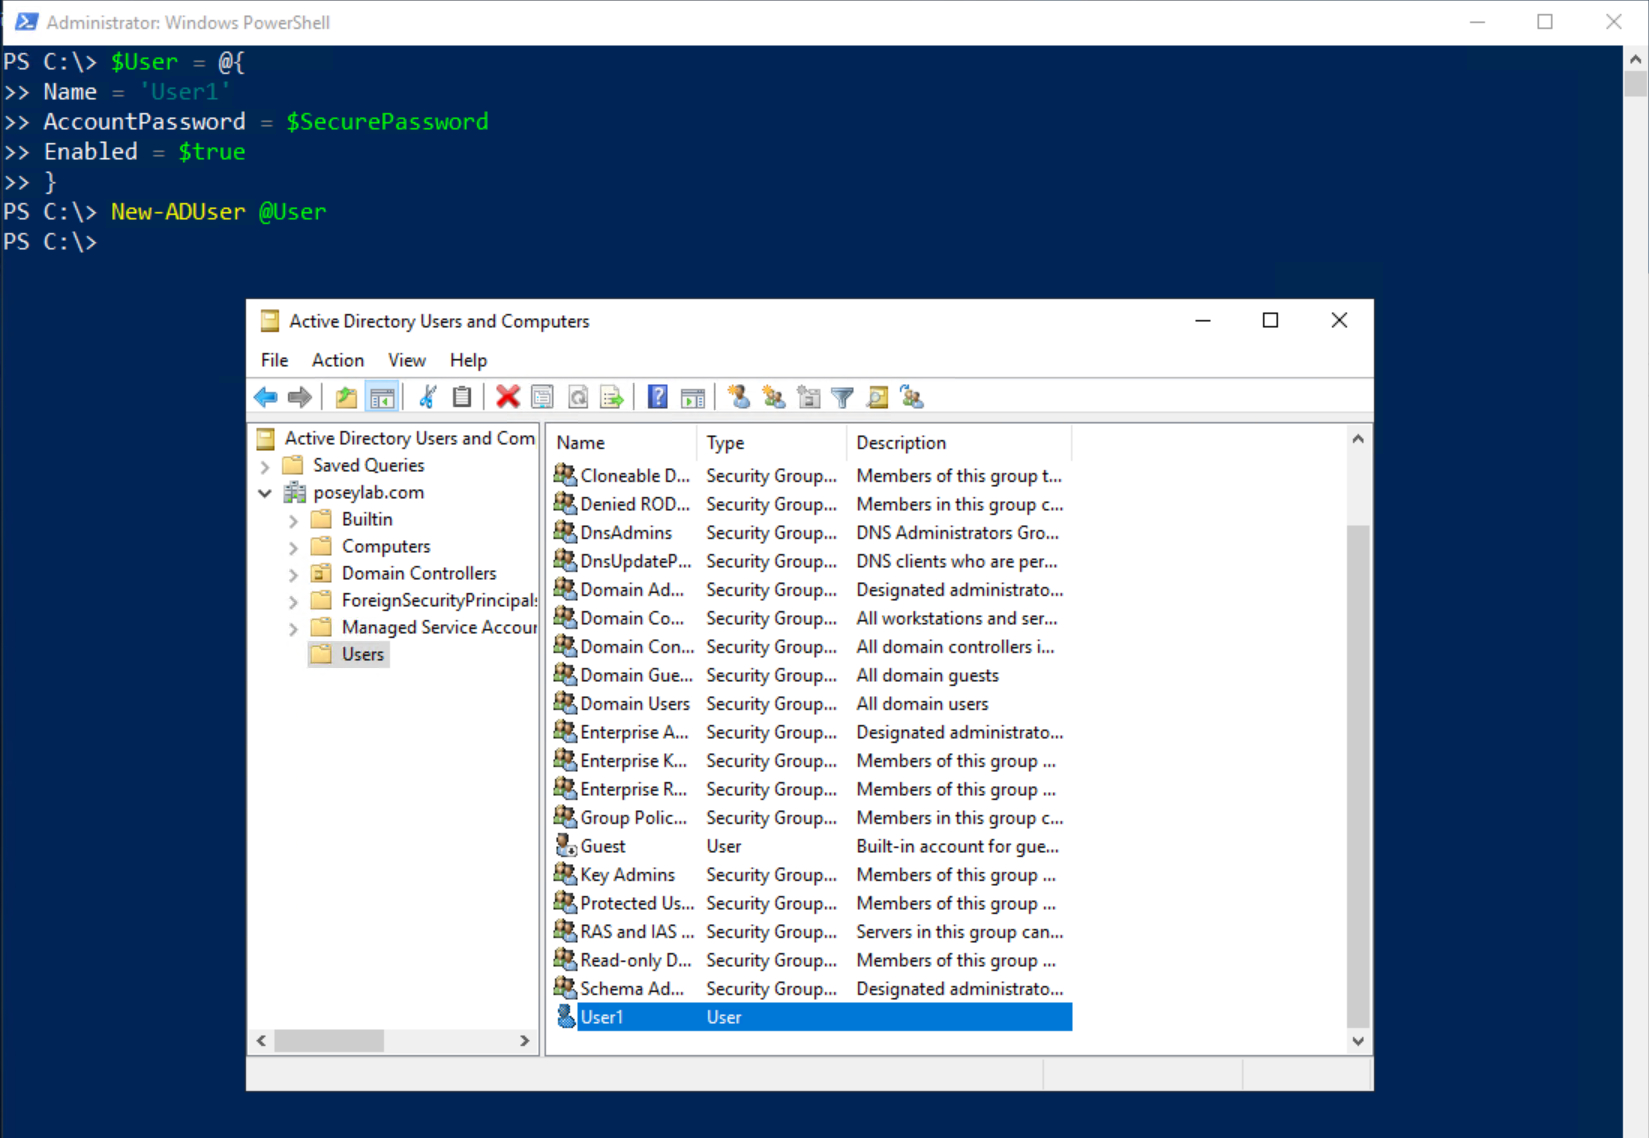
Figure 11. The array can be used to create the user account.
Obviously, this process involves a lot of work. Breaking down the account creation process into individual steps helps to demonstrate what each step accomplishes. In a real-world scenario, it would be easy to script this entire process.
Additionally, I recommend incorporating the secure password conversion process into the Generate-Password function. This way, the function can return a secure string instead of a clear text password.
About the author
 Brien Posey is a bestselling technology author, speaker, and 21x Microsoft MVP. In addition to his ongoing work in IT, Posey has trained as a commercial astronaut candidate in preparation to fly on a mission to study polar mesospheric clouds from space.>em>


